
vCenter Log Insight is available as a virtual appliance and can deployed on any system that supports the OVF standard. While deployment is straightforward, I figured I would walk through the deployment process and more importantly the considerations.
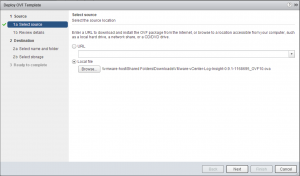
First up, we log into our vCenter Server instance, select the option to deploy from an OVF template, and then select the OVA
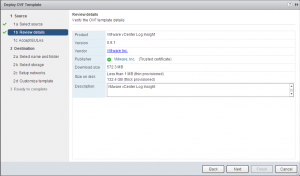
We are now presented with some summary information about the OVA
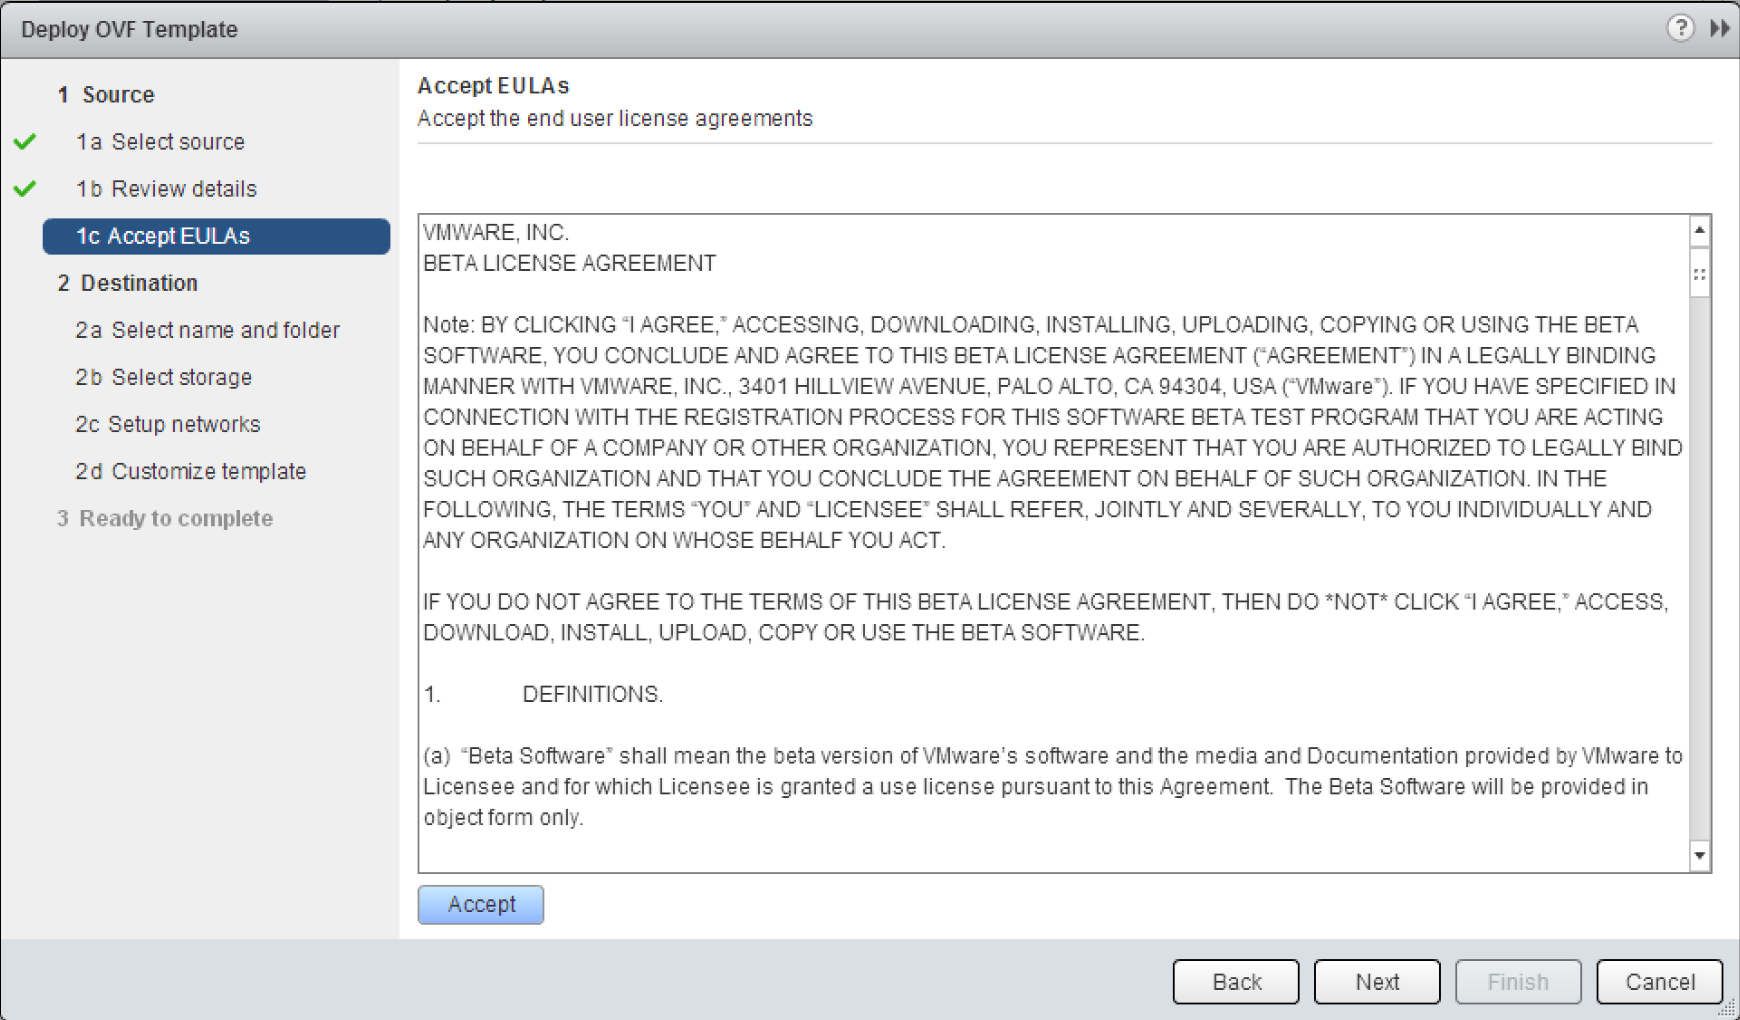
After selecting next, we need to accept the EULA
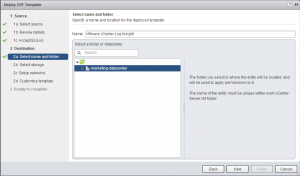
We give the VM a name and specify which object the VM should be deployed into
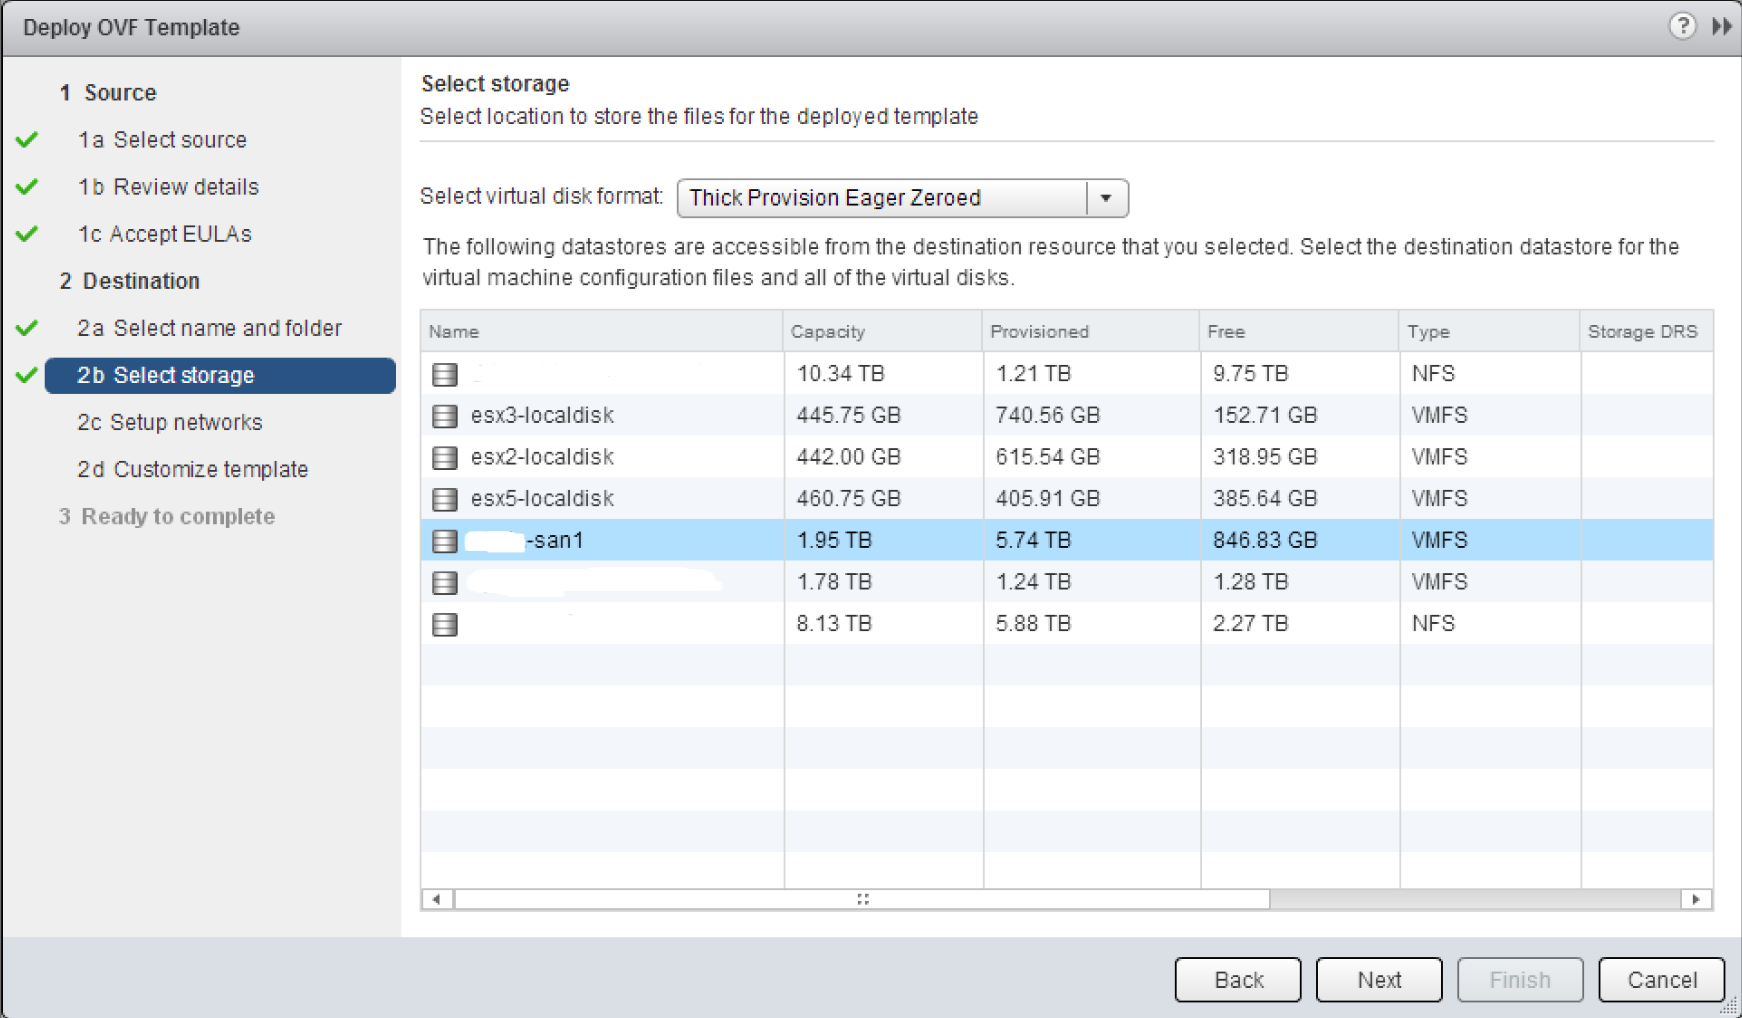
We select the datastore to store the VM and the disk format.
NOTE: The best practice is to select Thick Provisioned Eager Zeroed whenever possible for performance and operational reasons.
We specify the port group the VM will be connected to and how networking will be configured.
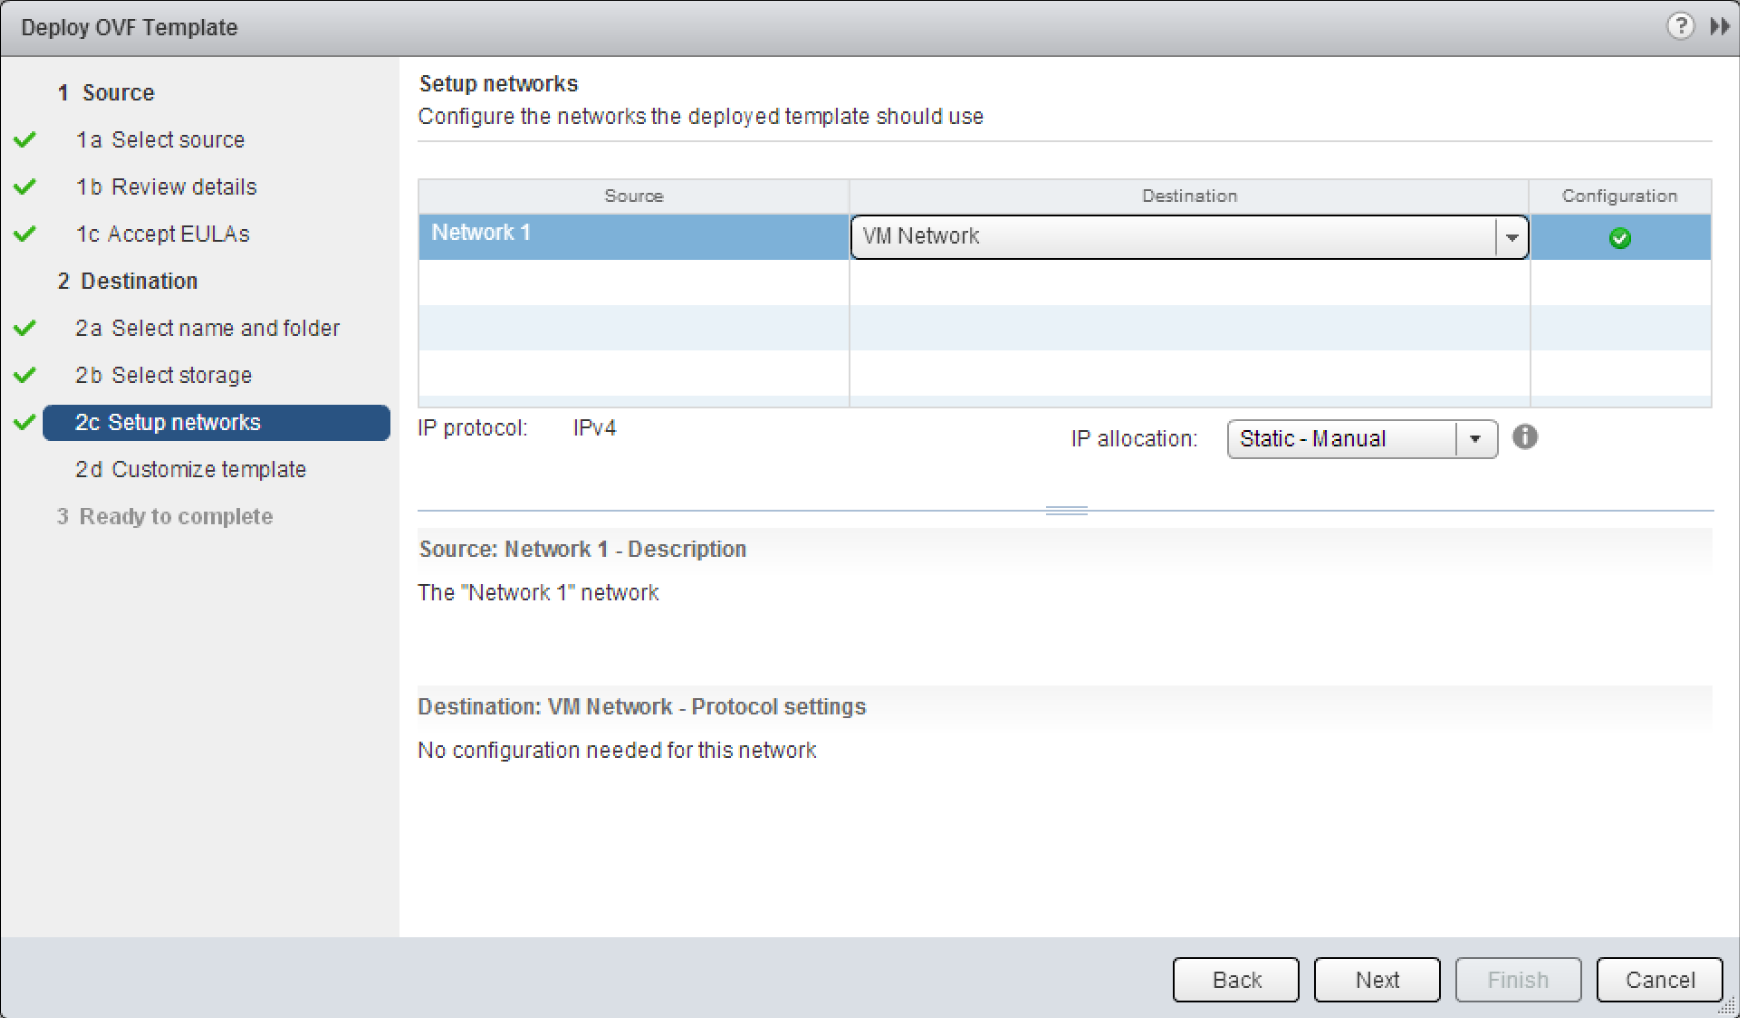
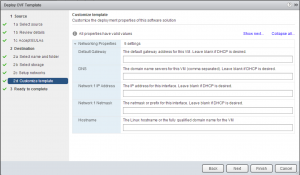
We enter any networking information if applicable.
IMPORTANT: Configuring network information including IP address, netmask, gateway, DNS, and hostname is only supported through vApp options. While these settings can be modified on the virtual appliance, doing so is unsupported and may be overridden. See the release notes for more information.
WARNING: Up to two domain name servers can be specified. If you specify more than two then no domain name servers will be set on the virtual appliance. In addition, ensure you do not put after the comma when specifying multiple domain name servers.
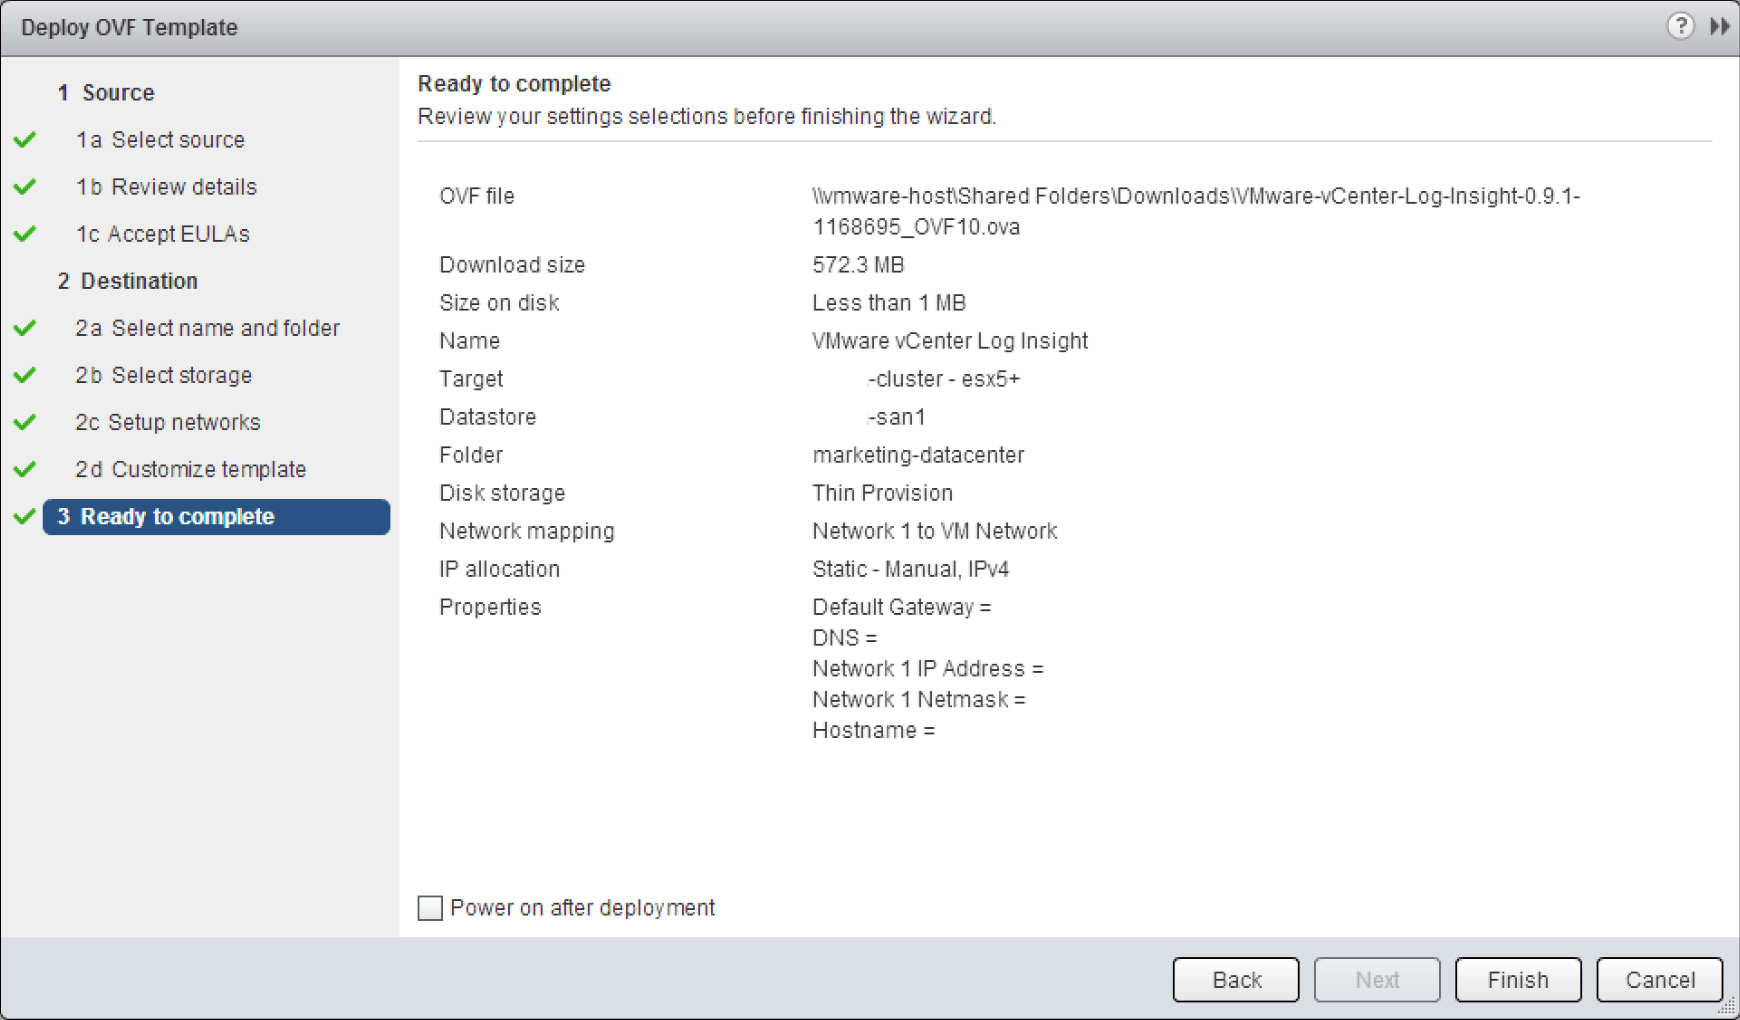
Finally, we are presented with a summary of the configuration parameters
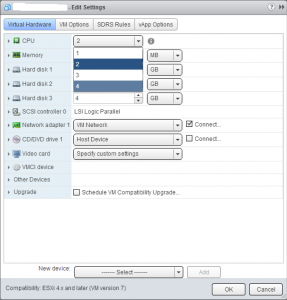
IMPORTANT: Do not select the power on option as resources need to be increased on the VM
Once the VM has been deployed, edit the settings of the VM and increase the number of vCPU from 2 to 4.
NOTE: If you would like additional retention of log messages to query over then you can also add additional hard drives.
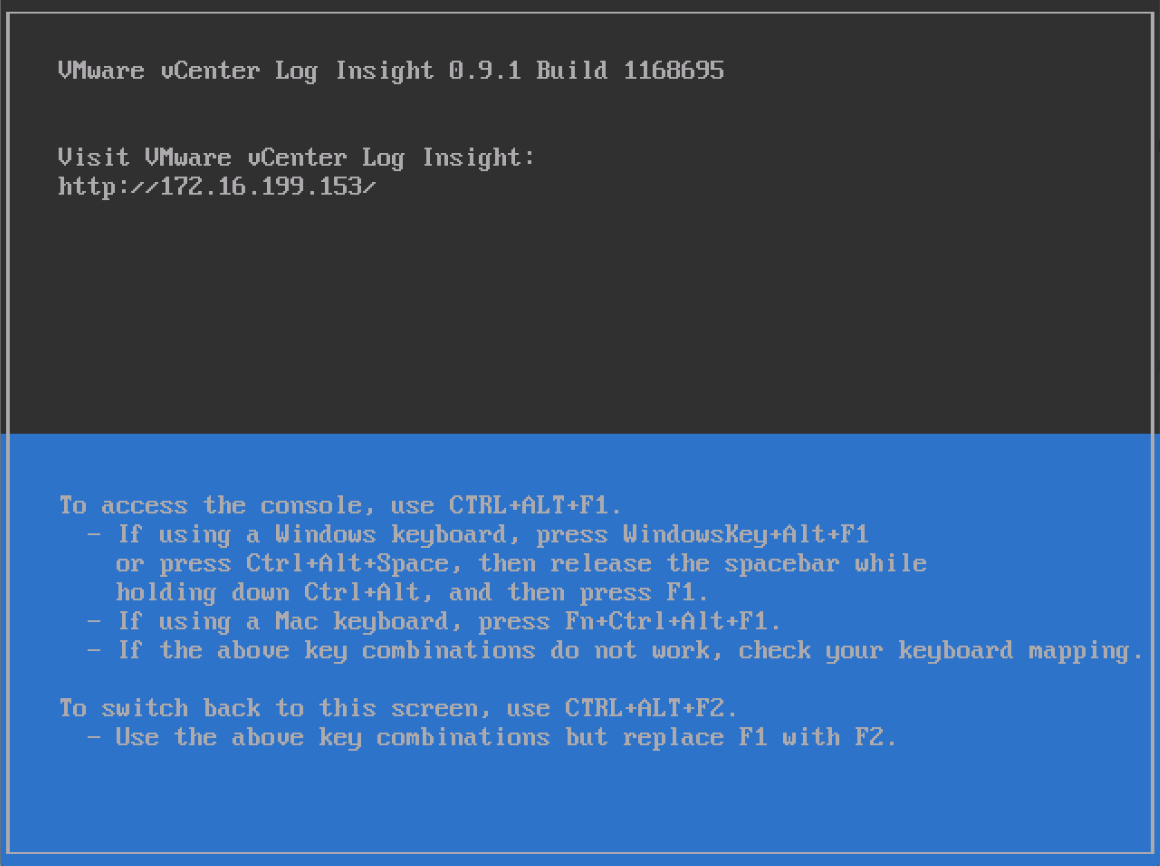
Now power on the VM and allow it to go through its first boot process. The first boot process takes about 3-4 minutes and you will notice the virtual appliance reboots about 2-3 minutes into the process. Once done, you will be presented with the console splash screen.
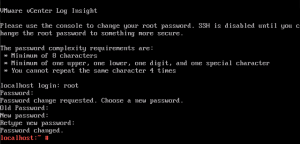
One thing you should do while on this console screen and enter the appropriate key combination to get to the terminal screen. From there, log in as root (password is blank/empty). Upon doing so, you will be forced to change the root password.
NOTE: If you do not change the root password you will not be able to SSH to the virtual appliance. As soon as the root password has been changed, SSH will be enabled.
Congratulations, you have successfully deployed the vCenter Log Insight virtual appliance! Next up, I will cover the initial configuration of the product.
© 2013 – 2021, Steve Flanders. All rights reserved.
Hi Steve
Can we do the initial configuration (including ssh enable) using commands? I don’t want to use web/log-in console to do the initial configuration. Just after OVA deployment, I want to do the SSH to VMware vcenter log insight to do the initial configuration.
The only officially supported way to do configuration is via the GUI – now you could technically automate this through something like cURL commands, but not the most automation friendly way. I covered an unsupported way to do it for LI 1.5 here and William Lam wrote something up pre-2.0 here. It is much easier in 2.0 as you can set the root password during deployment of the OVA making SSH configuration possible. I plan to cover some more automation information soon so stay tuned!