
I recently purchased a new construction home where the TV needed to be mounted on the wall above the fireplace. What I thought would be a simple project ended up taking a lot more planning than I had anticipated. I figured I would put together a quick post for those with a similar home project.

Setup
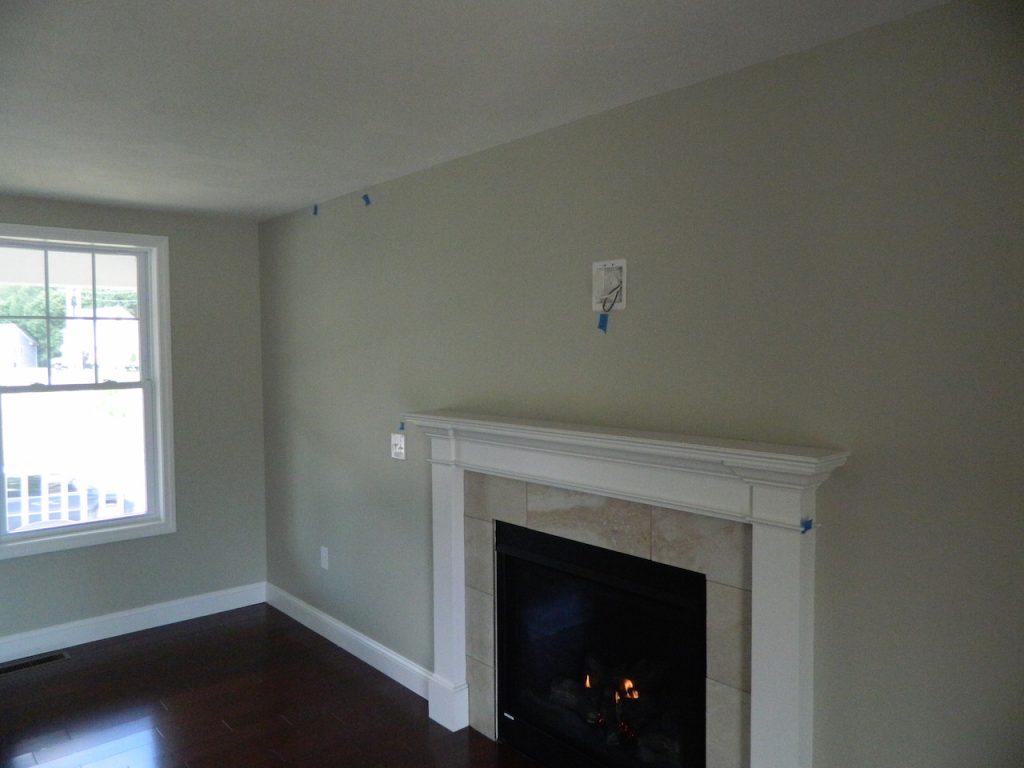
My new living room features a fireplace with hookups for a TV above it. Knowing that studs are typically 16 inches apart, I figured the stud was to the right of the outlet so the mount would be center to the fireplace.
Mount
For the mount, I wanted something that was capable of turning right and left as there is a sitting area that expands into the kitchen from the angle the above picture was taken. With company coming over, I wanted the ability to turn the TV accordingly. I looked around and found such a mount:

Problems
Upon receiving the mount I learned that the opening for the mount was not large enough to fit the outlet cover already installed on the wall. Removing the outlet cover made it clear that I was going to need a solution as the hole behind the cover was ugly. In addition, a stud finder showed me that the stud was actually to the left of the outlet and center to the fireplace. This meant that in order to center and properly anchor the wall mount a 32 inch mounting panel would be necessary — my mount had a 16 inch mounting panel.
Clearly the stud issue was more pressing and some research showed that 32 inch mounting plates did not really exist. What was I to do?
Research
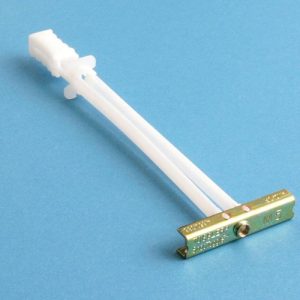
I did some research and came across a product called SnapToggles. These were meant for drywall and claimed to support more than 200 pounds of weight:
The problem is, they assumed a fixed object attached to the wall and I planned on have a swivel mount, which meant that weight distribution would fluctuate over time. Concerned about the weight changes, I reached out to a friend of mine who made some suggestions including:
- Could the studs be backed up with additional 2x4s reducing the span necessary for the mount? Something like what you see with door frames:

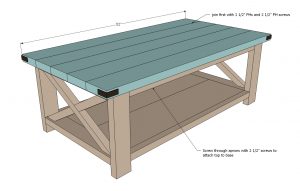
The answer for me was no as I did not want to put any additional holes in the wall. - Could an “X” be formed between studs to provide something to attach to? Something like what you see with some tables:
The answer was again no because of the existing outlet box. - Could lumber be added behind the drywall to better distribute the weight of the mount? YES! At the end of the day, the concern was weight against the drywall so if the weight could be better distributed then the concern could be mitigated.
Workaround
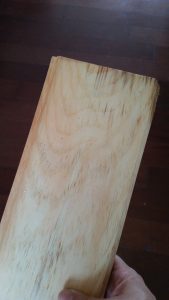
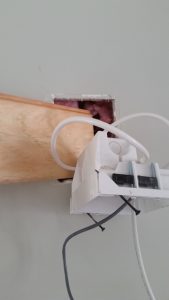
With a plan, I got to work. First up, I found a piece of lumber that I could use for support and cut it at a length greater than the height the mount (I went at least 3 inches above and 3 inches below the height of the mount):
Next up, I unscrewed the outlet and carefully pulled it out. Then I slipped the cut lumber into the outlet hole pushing the insulation back so the lumber could sit against the drywall.
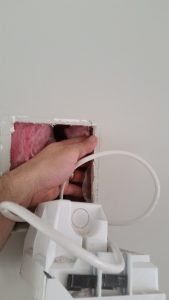
 After getting the lumber behind the wall, I changed the direction of the board from horizontal to vertical. I also ensured the board was centered against the outlet hole (note the insulation was kind enough to hold the board against the drywall):
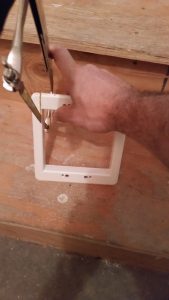
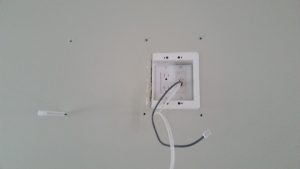
 Next, I had to address the outlet cover problem. To do this, I used a hacksaw to cut one edge of the outlet cover off:
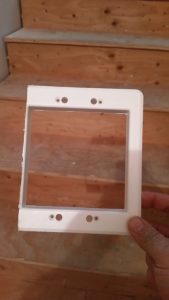
 The result came out as:
 Then, I put the outlet back into its place, securing it to the wall and then reinstalling the cover. Now I could put the mount up and mark my pilot holes — making sure the mount was level. Given I had a stud to the left of the outlet I could use that for support. I also marked both ends of the mount — on the right was where my board was installed and on the left, since I could not access that part of the wall given the stud, I opted to use just the SnapToggles. My thought was having really secure mounting in the center and right side would minimize the risk of anything happening on the left size.
With the pilot holes marked, I went ahead and drilled out the pilot holes. I also installed the SnapToggles on the left size (top left was already snapped to size while the bottom left shows what it looked like before snapping to size):
Result
With everything in place, I could now affix the mount to the wall. I did some body weight load testing and it turned out to be very secure:
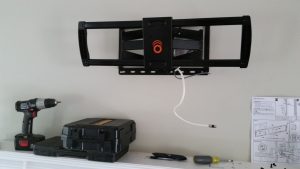
I finished up by mounting the TV and the mount works perfectly!
© 2015, Steve Flanders. All rights reserved.