As many of you know, I recently purchased a new home. Given the opportunity, it was a good time to revisit the home lab. In this post, I would like to talk about the changes and the final result.
![]()
Background
v2.0 of my home lab was still working well though I was running low on resources and could not really spin up all the cool vExpert things I wanted. In addition, I did not have a switch infrastructure, I was out of shared storage space and I was sick of renting Internet equipment from my ISP that sucked to say the least.
Equipment
I was lucky enough to get some donations in the form of another T620, a 24-port Cisco switch, a Synology 513+ and 5 x 4TB drives. In addition to this, I purchased a pair of SSDs for the servers, a gateway and an ASUS router. Now I know what you are thinking — that is a lot of power for a home lab. True — I do have every energy-saving feature turned on, but arguable this setup draws more power than I would like (beggars cannot be choosers when it comes to donated stuff!)
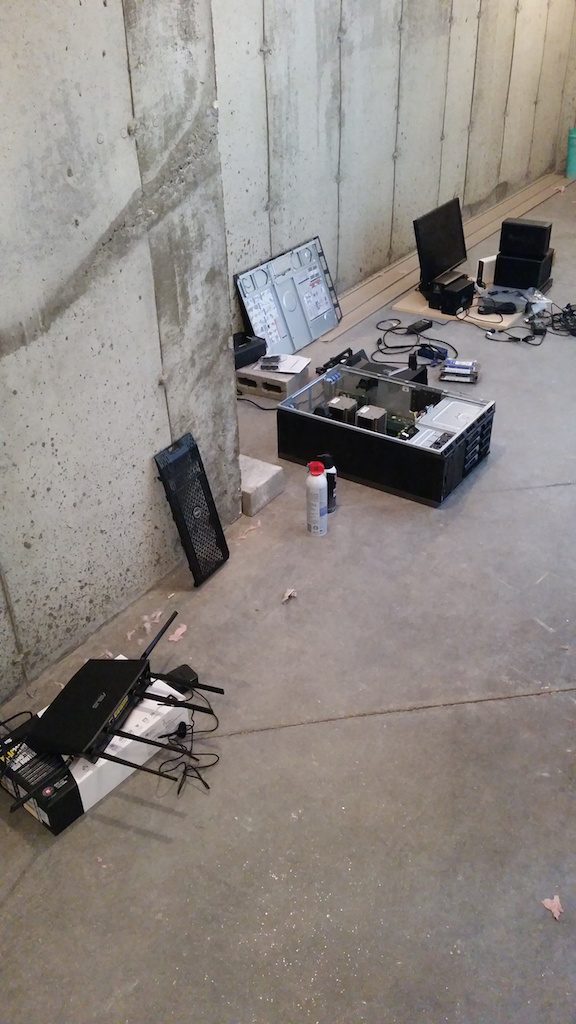
Here is some of the equipment post move being cleaned up:

Network
Did I mention I was able to get hardwired Ethernet in my new house?! Excited does not even begin to explain how I feel. Of course this meant I needed a switch. I was able to get my hands on a Cisco SG200-24 which currently has a vanilla installation (single VLAN), but the configuration will likely change when I have more time. Right now, I use the ASUS router for all network capabilities (e.g. DHCP, DNS, VPN, etc). Speaking of the router, I also have laptops on the Wi-Fi as well as a smart TV, sound bar, and both Nest thermostats and smoke detectors.
Good thing I had the switch and router, but where was I going to put all the equipment?
Rack
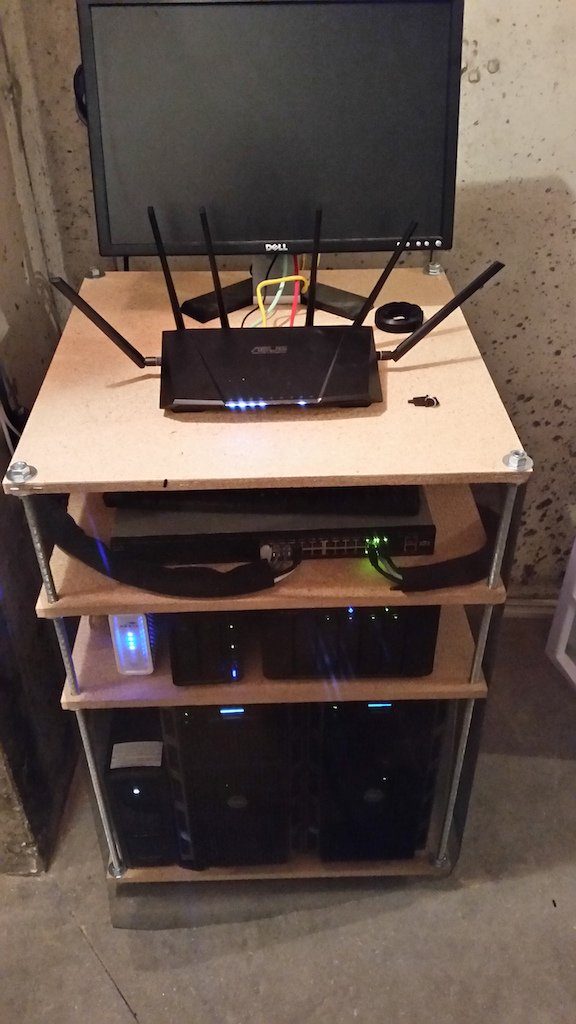
I started to look around for a rack and/or storage cabinet for all of my gear — boy are they expensive. I found a half rack that would have been sufficient. Any guesses on cost? How about $600… I decided I was going to build something myself so off to the Home Depot I went. After a few nights in the basement here is what I came up with:
 The required equipment cost me under $40 and the optional accessories were another $40 so net result was $80 versus $600 — I will take it! What did I use?
- 4 x particle board squares
- 4 x 1/2″ threaded steel rods
- 5 x industrial strength wheels (particle board required a fifth wheel)
- 1 x package of washers
- 1 x package of nuts
The assembly was straight-forward:
- I measured, clamped and drilled the holes in the particle board
- I installed the wheels on one piece of particle board
- I installed a nut, washer and particle board piece at measured heights
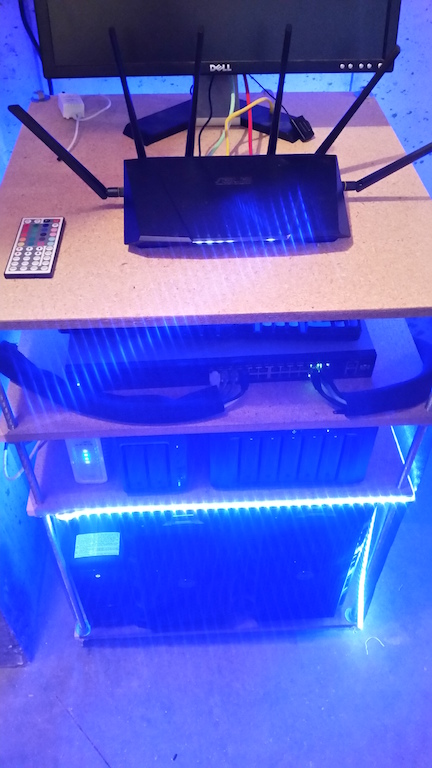
So what were some of the optional accessories? LEDs of course!
 You may also notice the screen around the “rack” — I have two cats and wanted to prevent fur from bringing down or damaging the equipment.
In future posts, I will talk about the configuration of my environment, but in the meantime what do you think of the setup? Feedback welcome!
© 2015, Steve Flanders. All rights reserved.
