Now that Log Insight has moved to VMware Identity Manager (VIDM) as the means to attain Active Directory (AD) authentication, I have heard a lot of questions around how to deploy and configure VIDM. In this post, I will provide the details you need to know. Read on to learn more!

What is VIDM?
Per the Identity Manager landing page:
Identity Manager is an Identity as a Service (IDaaS) offering, providing application provisioning, self-service catalog, conditional access controls and Single Sign-On (SSO) for SaaS, web, cloud and native mobile applications.
For the purposes of this post, I will be focusing on the identity and SSO parts. The key bit is that VIDM is an identity provider. This means it can connect to other authentication sources such as Active Directory.
What form-factors are provided by VIDM?
Two options are provided:
- As a service
- As an OVA
For the purposes of this post, I will be focusing on the OVA.
Note: The download page of Log Insight provides access to the VIDM OVA and the VIDM Connector OVA, the connector is used to connected to the VIDMaaS. Most people will want the non-connector OVA.
Before you begin
Like any product, you should check the release notes and official documentation before starting. Here are some important documentation links you should review before hand:
- System and network configuration requirements
- Planning the deployment strategy
- Configuring redundancy
It should be noted that a production VIDM deployment would require:
- Multiple VIDM nodes
- An external load balancer in front of the VIDM nodes
- An external database for large-scale authentication use-cases
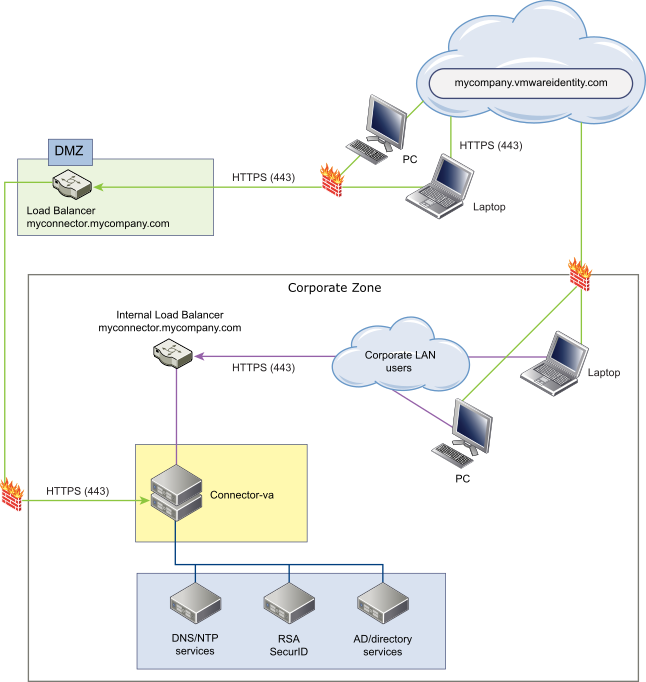
An architecture for VIDM might look something like the following (note this assumes VIDMaaS):
How to deploy the VIDM OVA
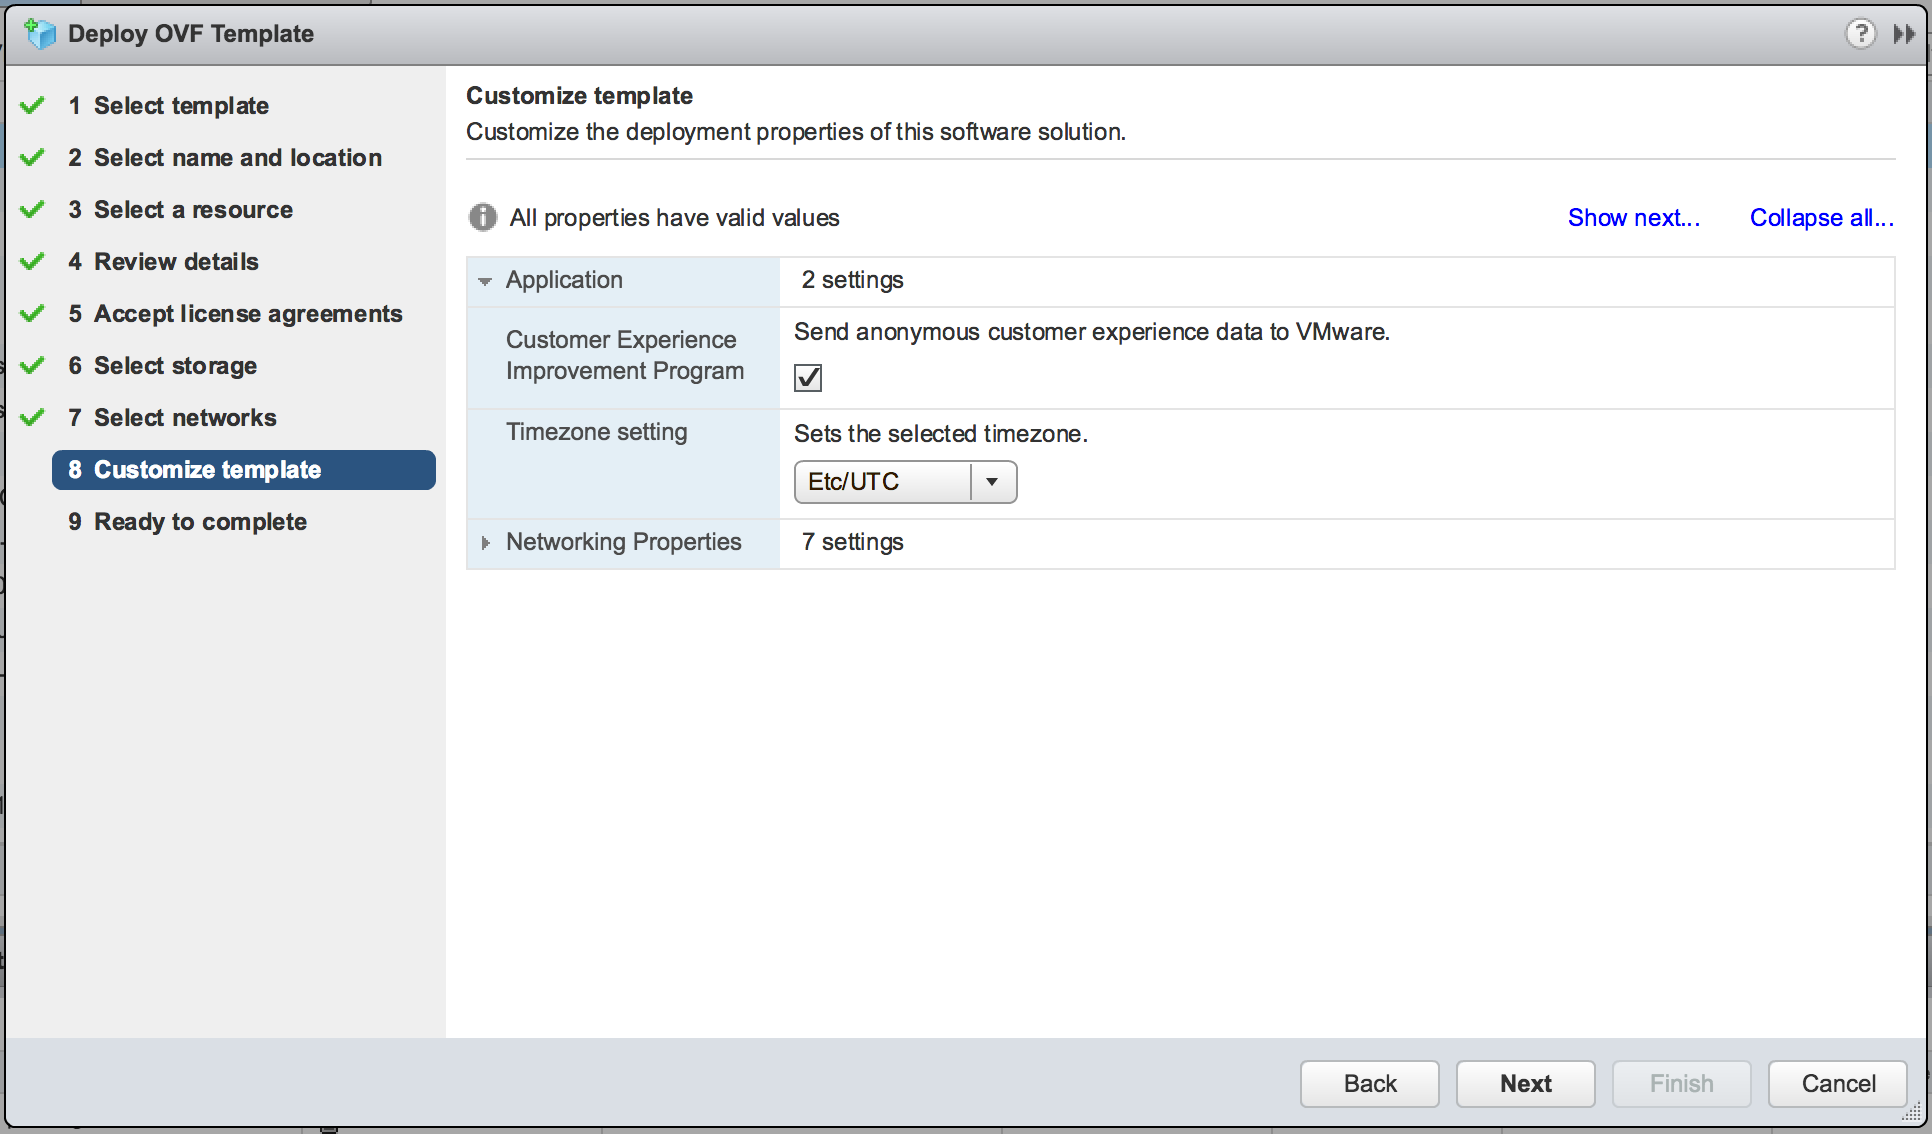
The OVA requires a minimum of 2 CPU, 6 GB of memory, and 24 GB of disk space — this configuration is sufficient for up to 1,000 users. The OVA contains OVF properties which means you need to deploy to vCenter Server or above. The application settings allow you to opt-out of CEIP and change the timezone as desired.
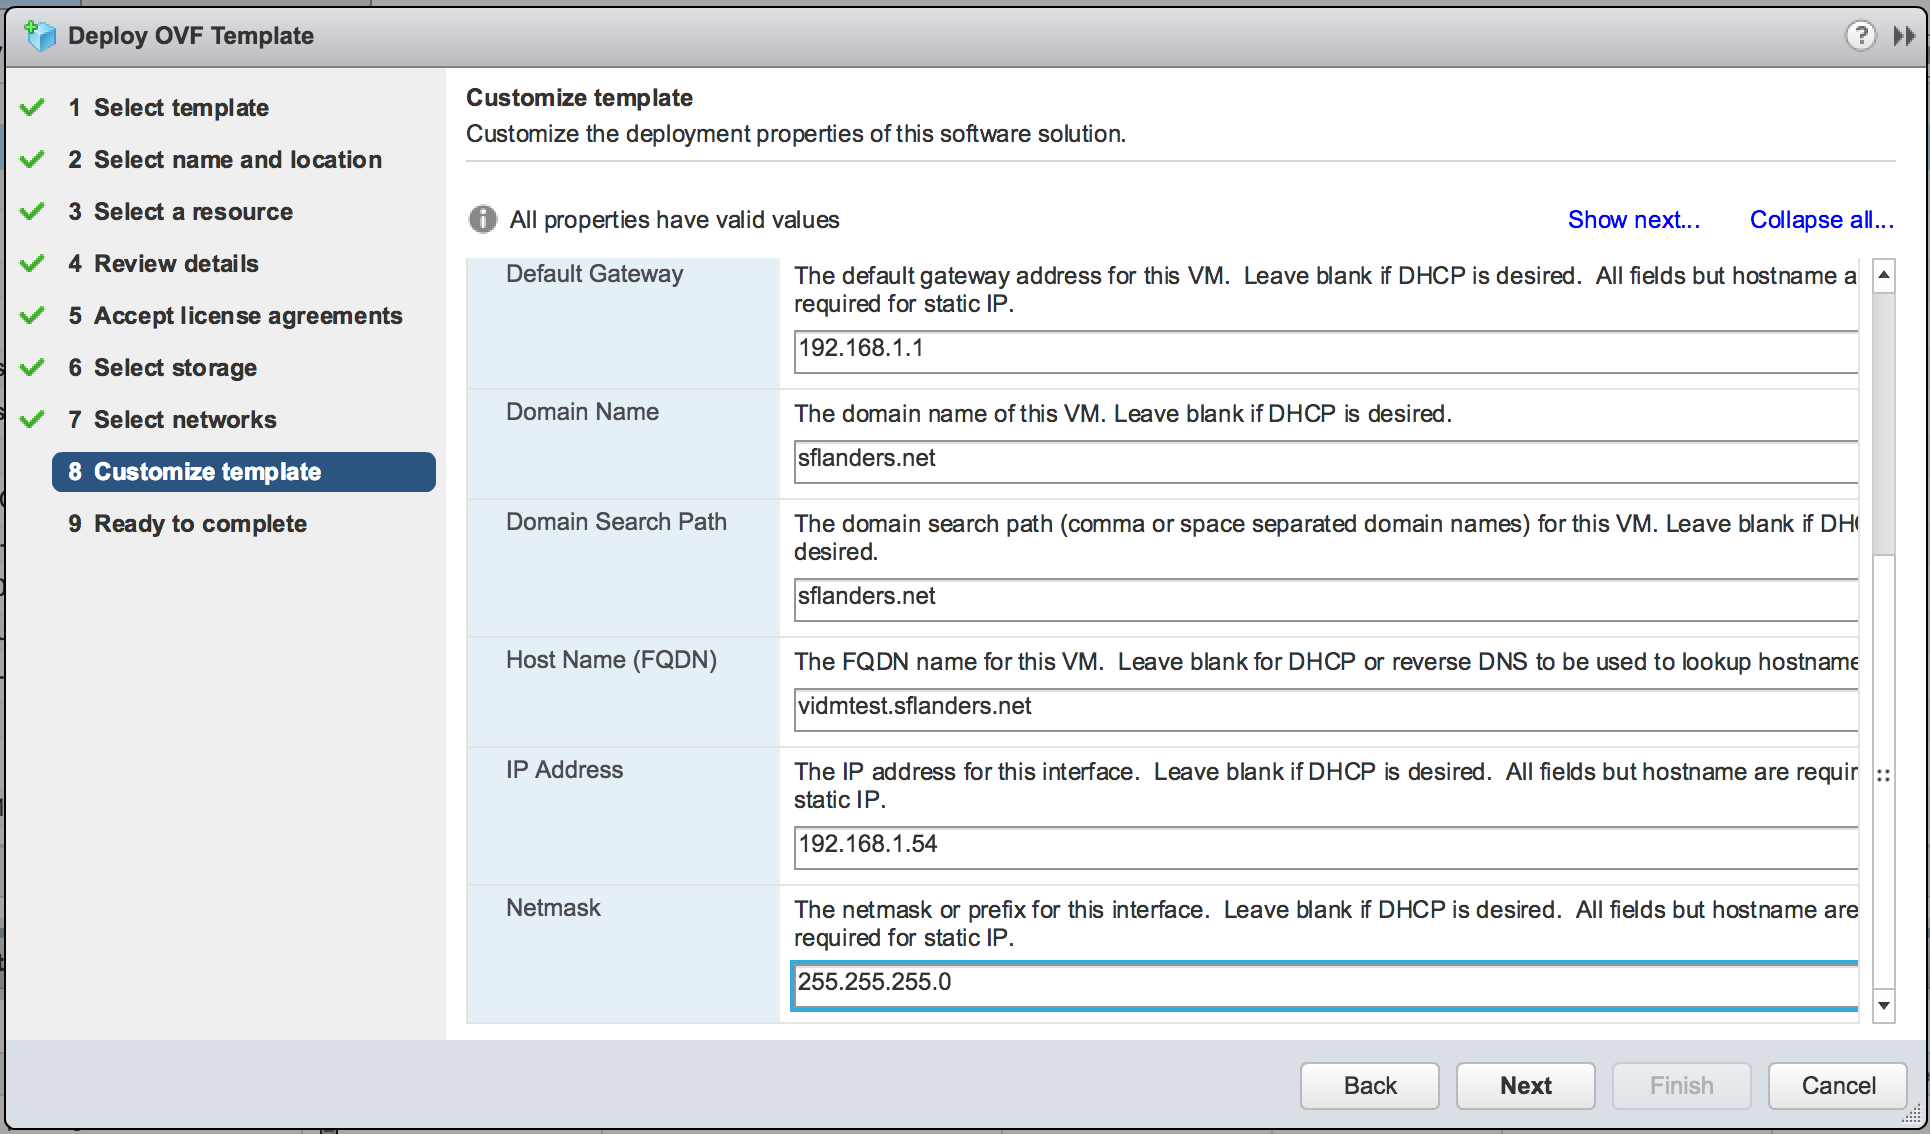
The network properties allow you to set static networking information. While VIDM appears to work with DHCP, I am not sure if anything requires static configuration.
IMPORTANT: In production environments, I would always recommend static. In either case, DNS configuration is critical like with most applications. Be sure you set a FQDN that can be resolved via DNS before doing the initial configuration of VIDM.
Everything else in the VM deployment is pretty standard.
Initial configuration of VIDM
Once the VM is powered up you can access it in a web browser.
IMPORTANT: Be sure to do the initial configuration via the FQDN and not via IP.
Select Continue on the first screen.
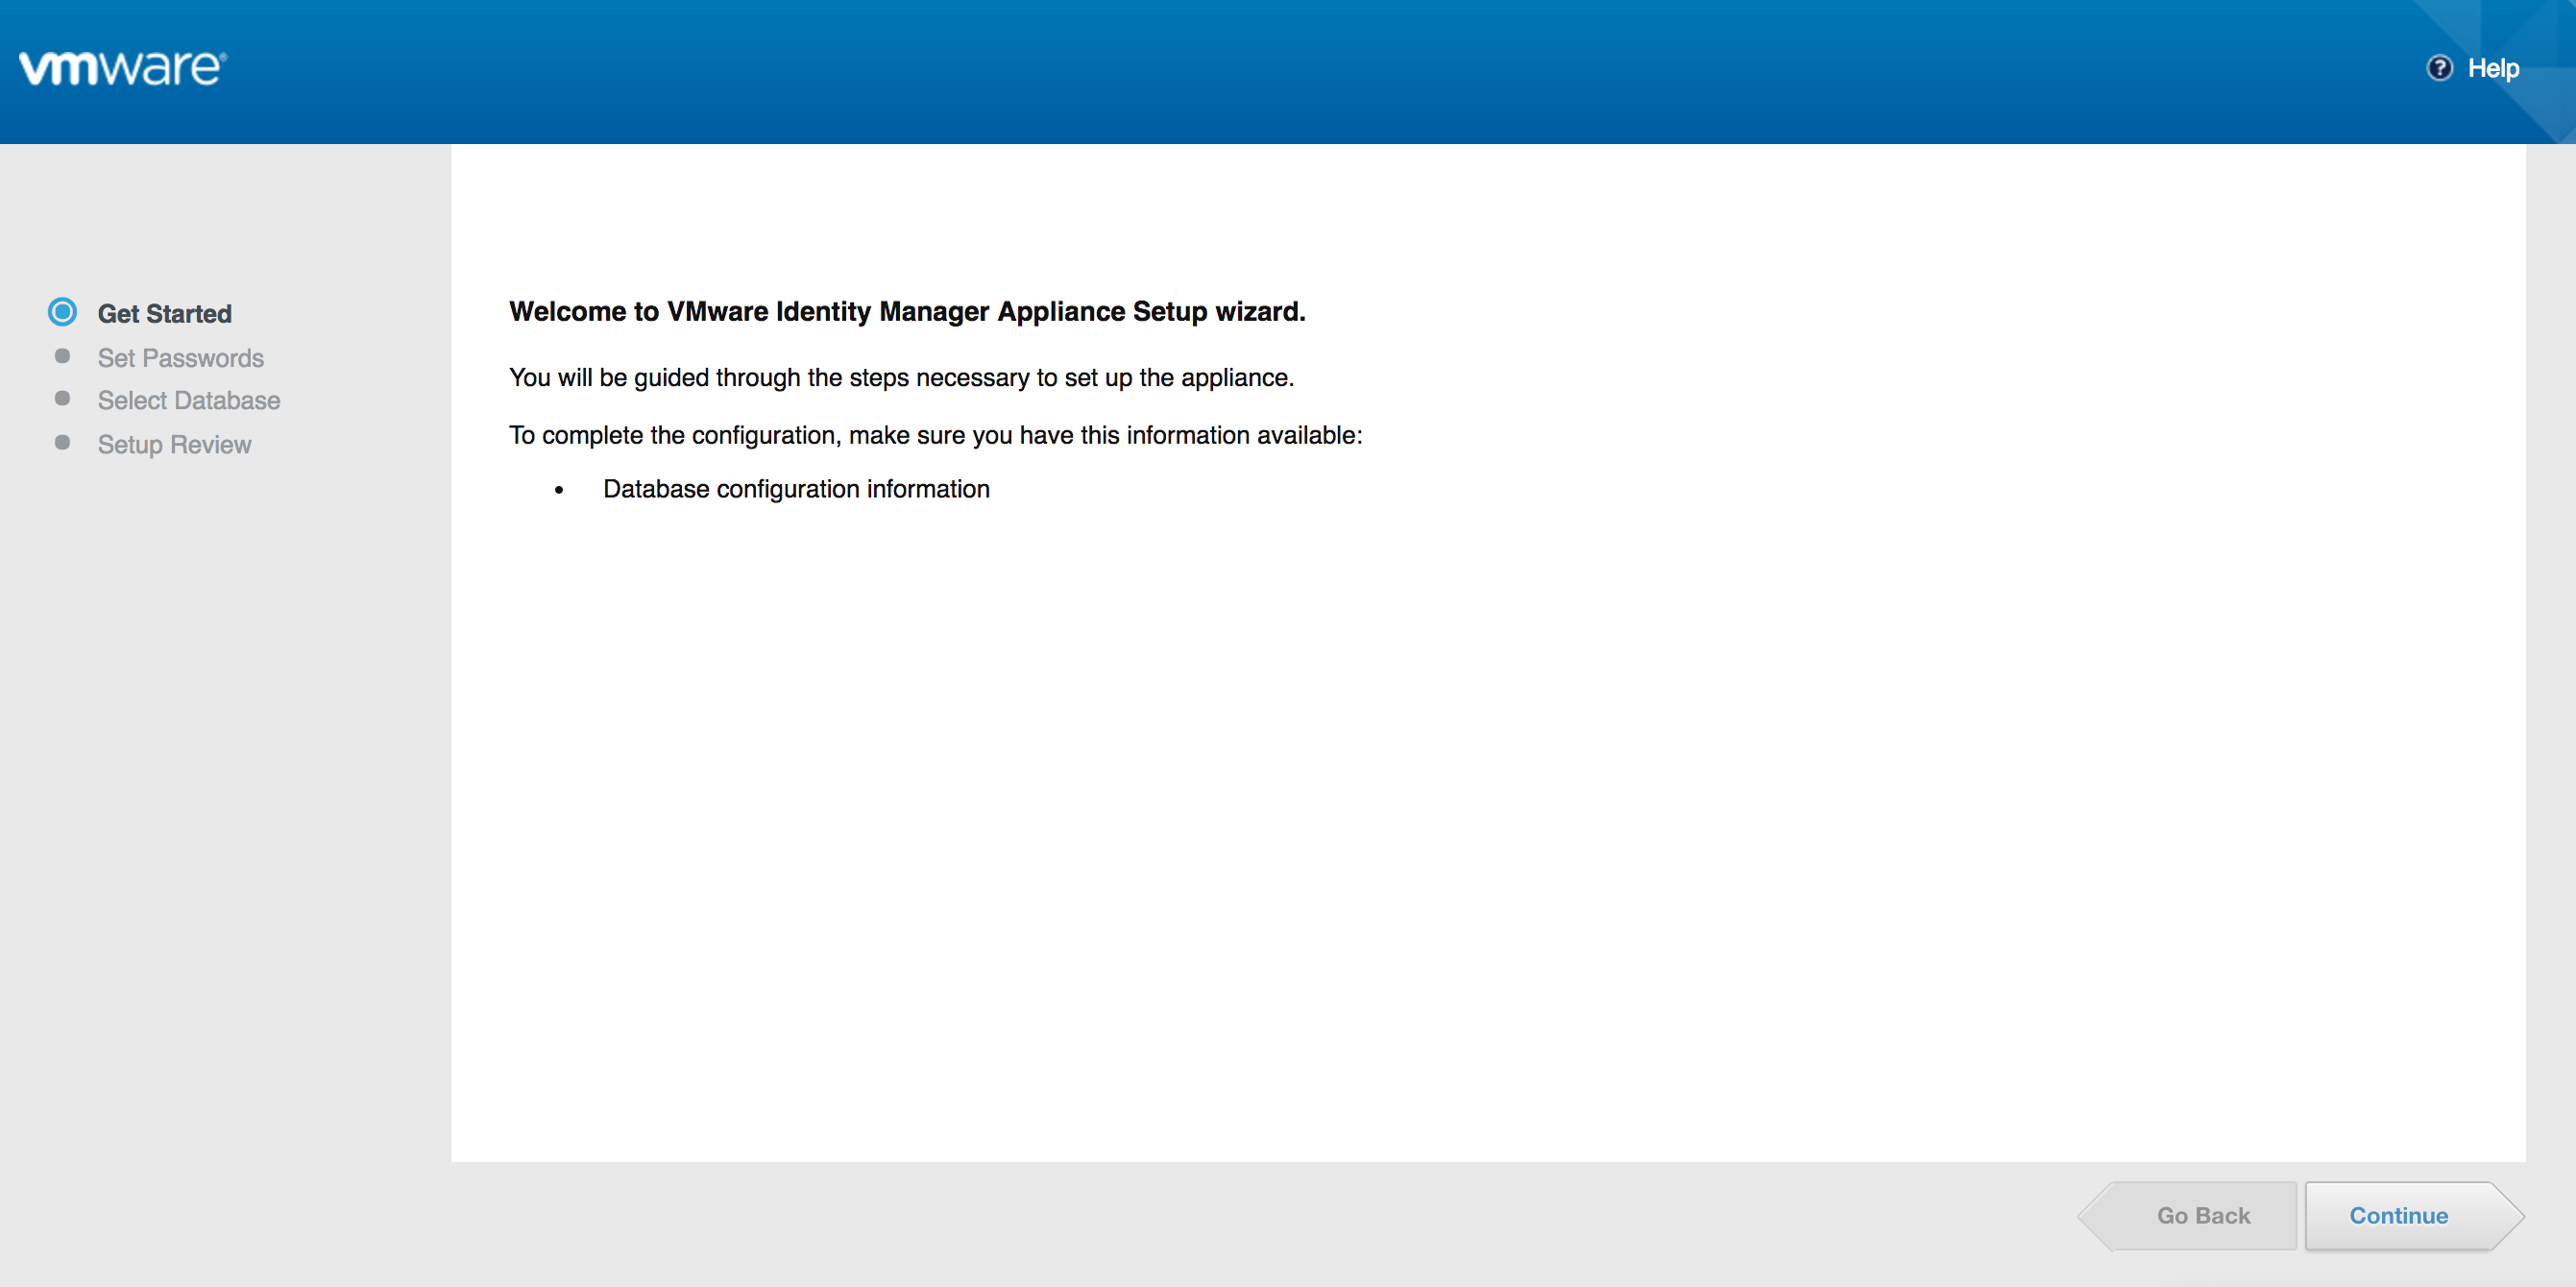
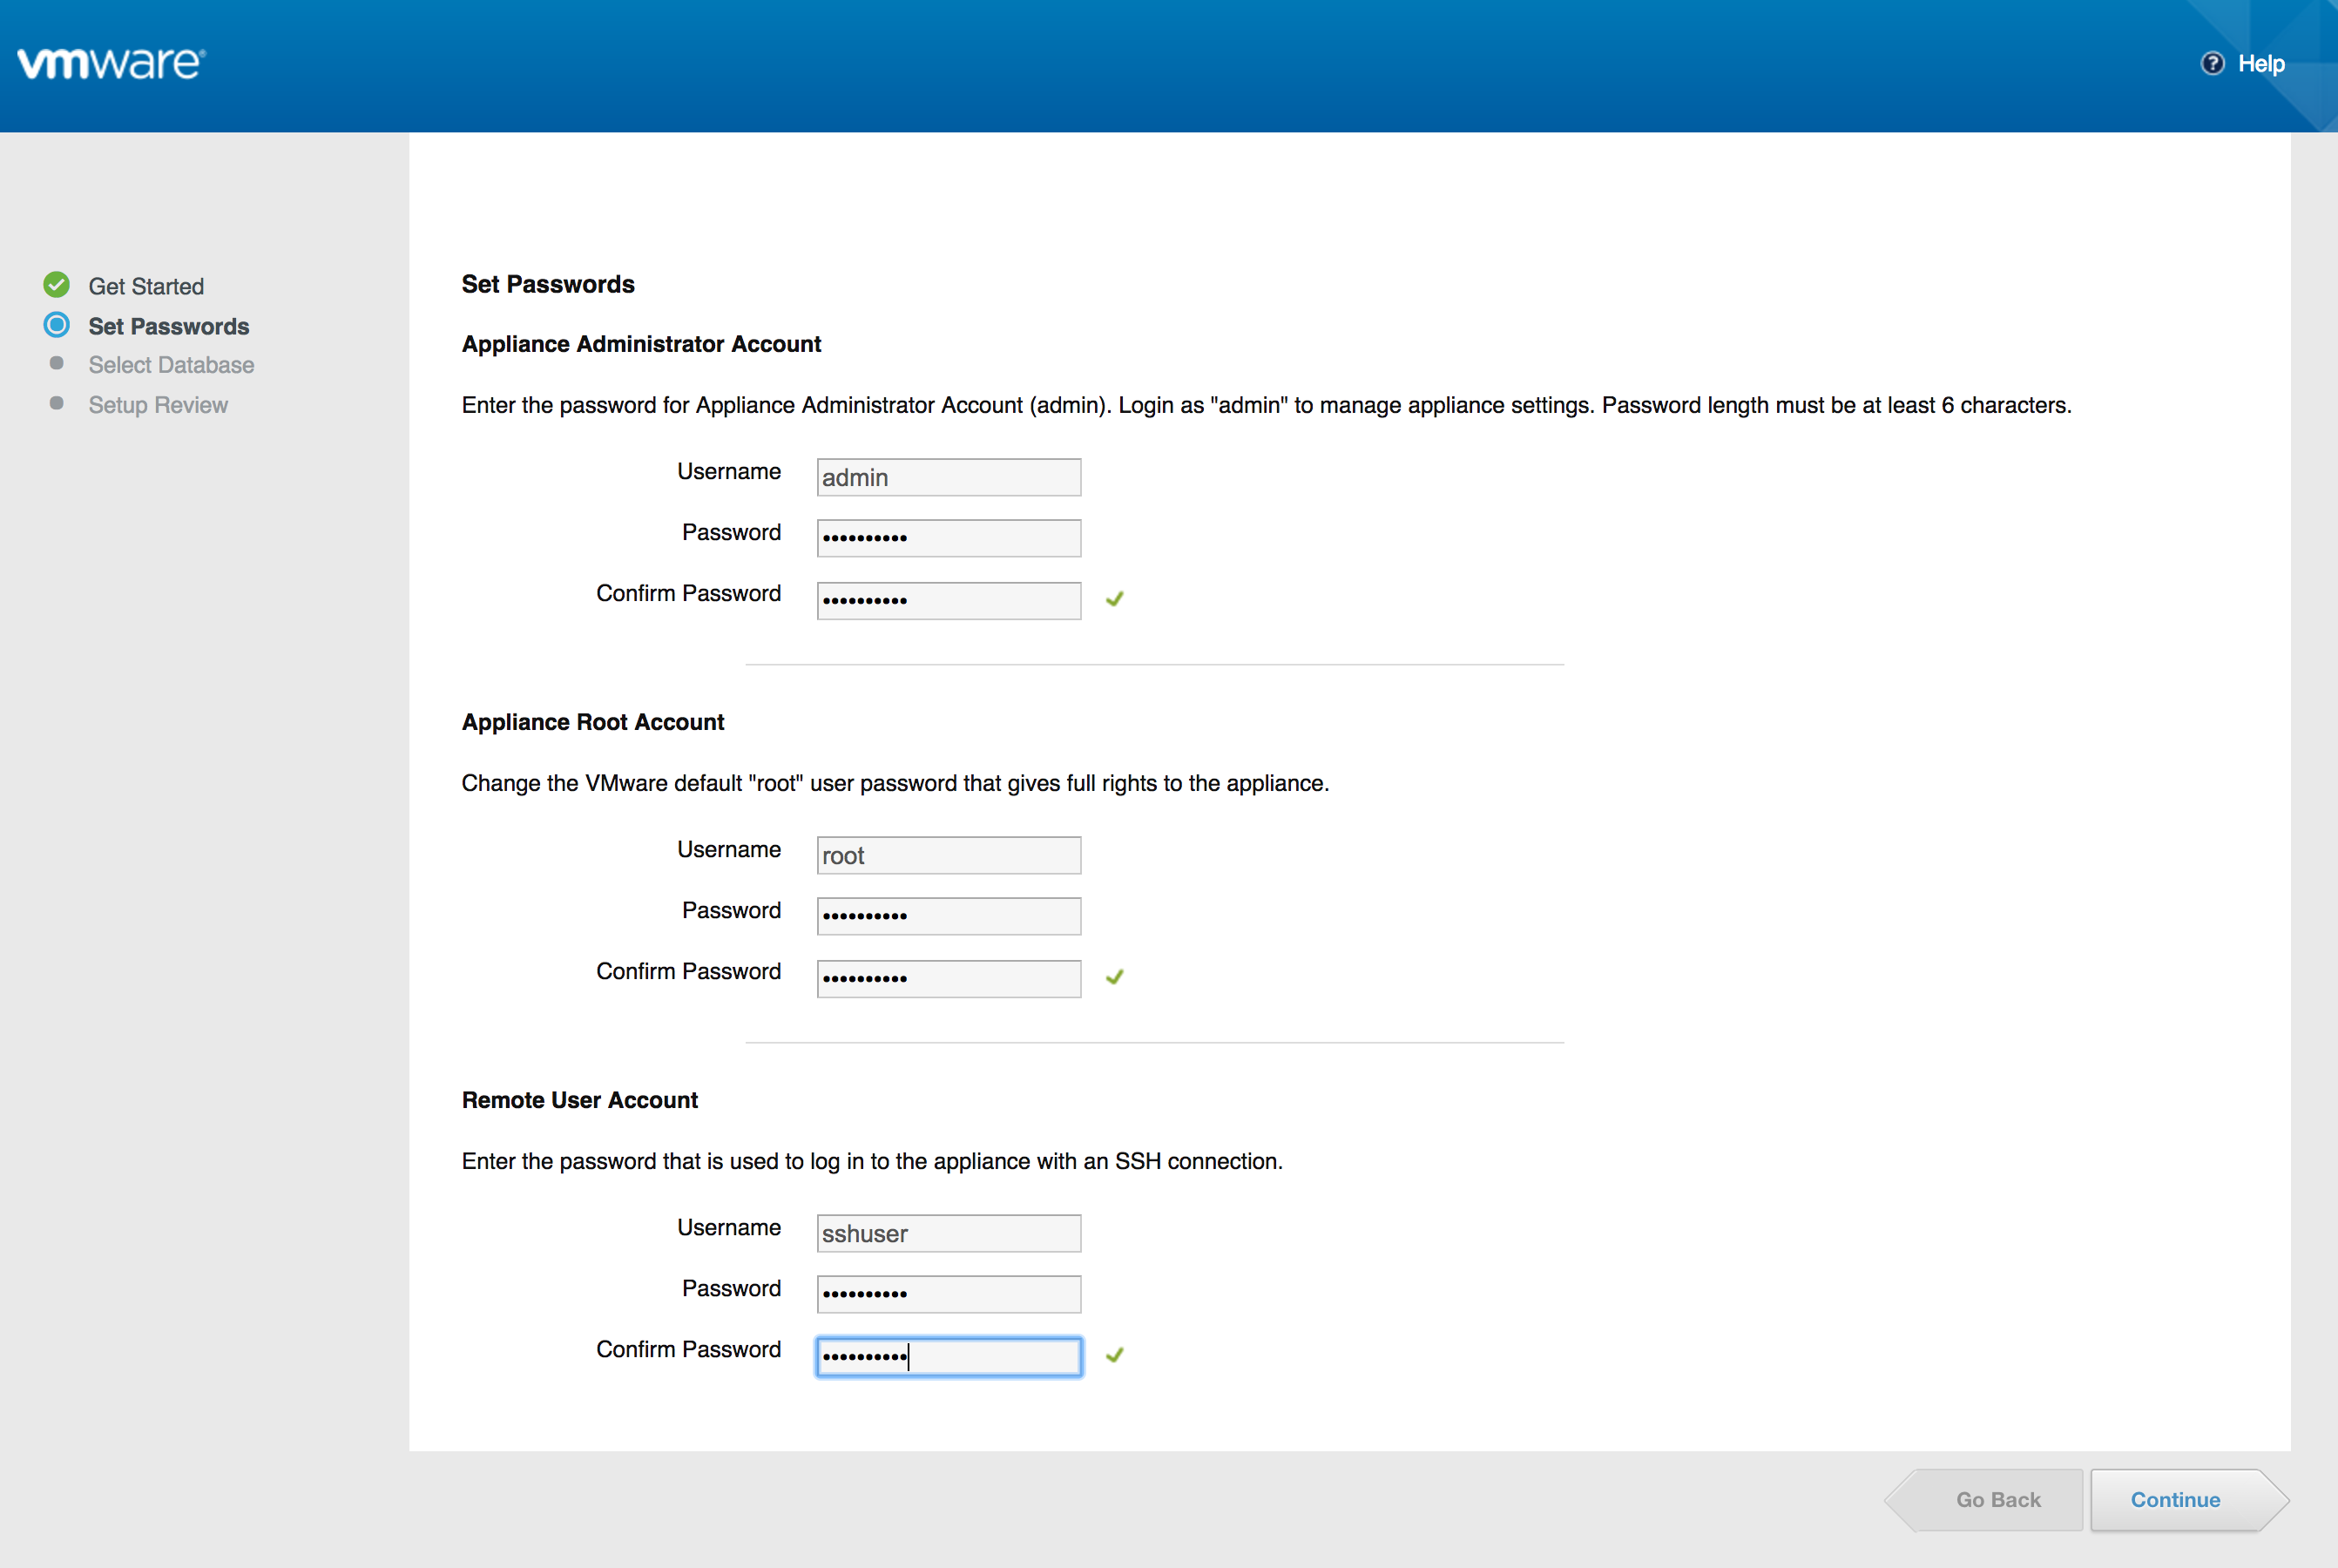
First up, you will need to set the passwords. The OVA has three accounts:
- admin: login of the UI
- root: OS account used for CLI access via the console or from a su/sudo command
- sshpass: OS account used for CLI access via SSH
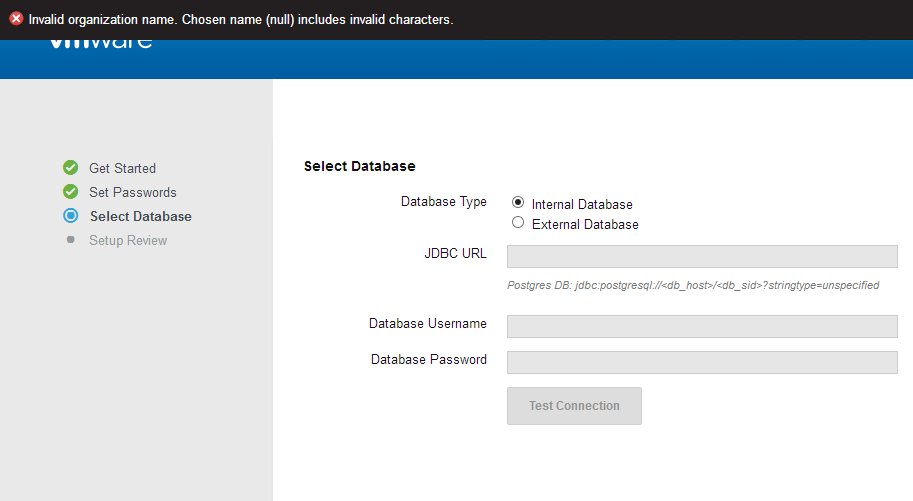
Did you get an invalid organization message like the following?
If you continue past this message you will be asked for an activation code:
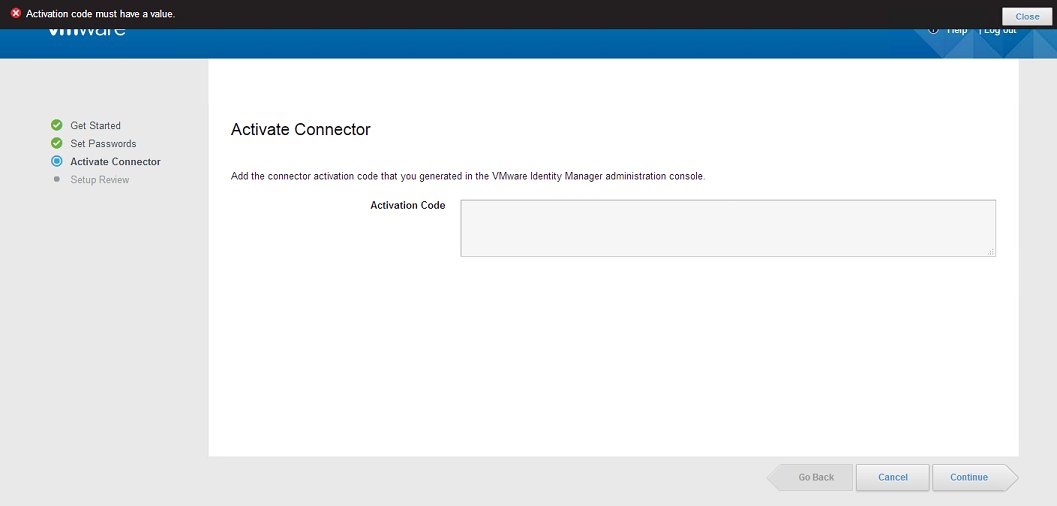
This means you connected to VIDM via IP instead of FQDN (warned you earlier!) — for more information see this KB.
IMPORTANT: An activation code is not required. If you are prompted for one then you did not connect to VIDM via FQDN.
OK, going back to a successful initial configuration! By default, VIDM ships with an internal database. Per the documentation, the internal database is not recommended for production environments. The number of users you plan to support dictate the number of VIDM appliances as well as the resources required per appliance and database system.
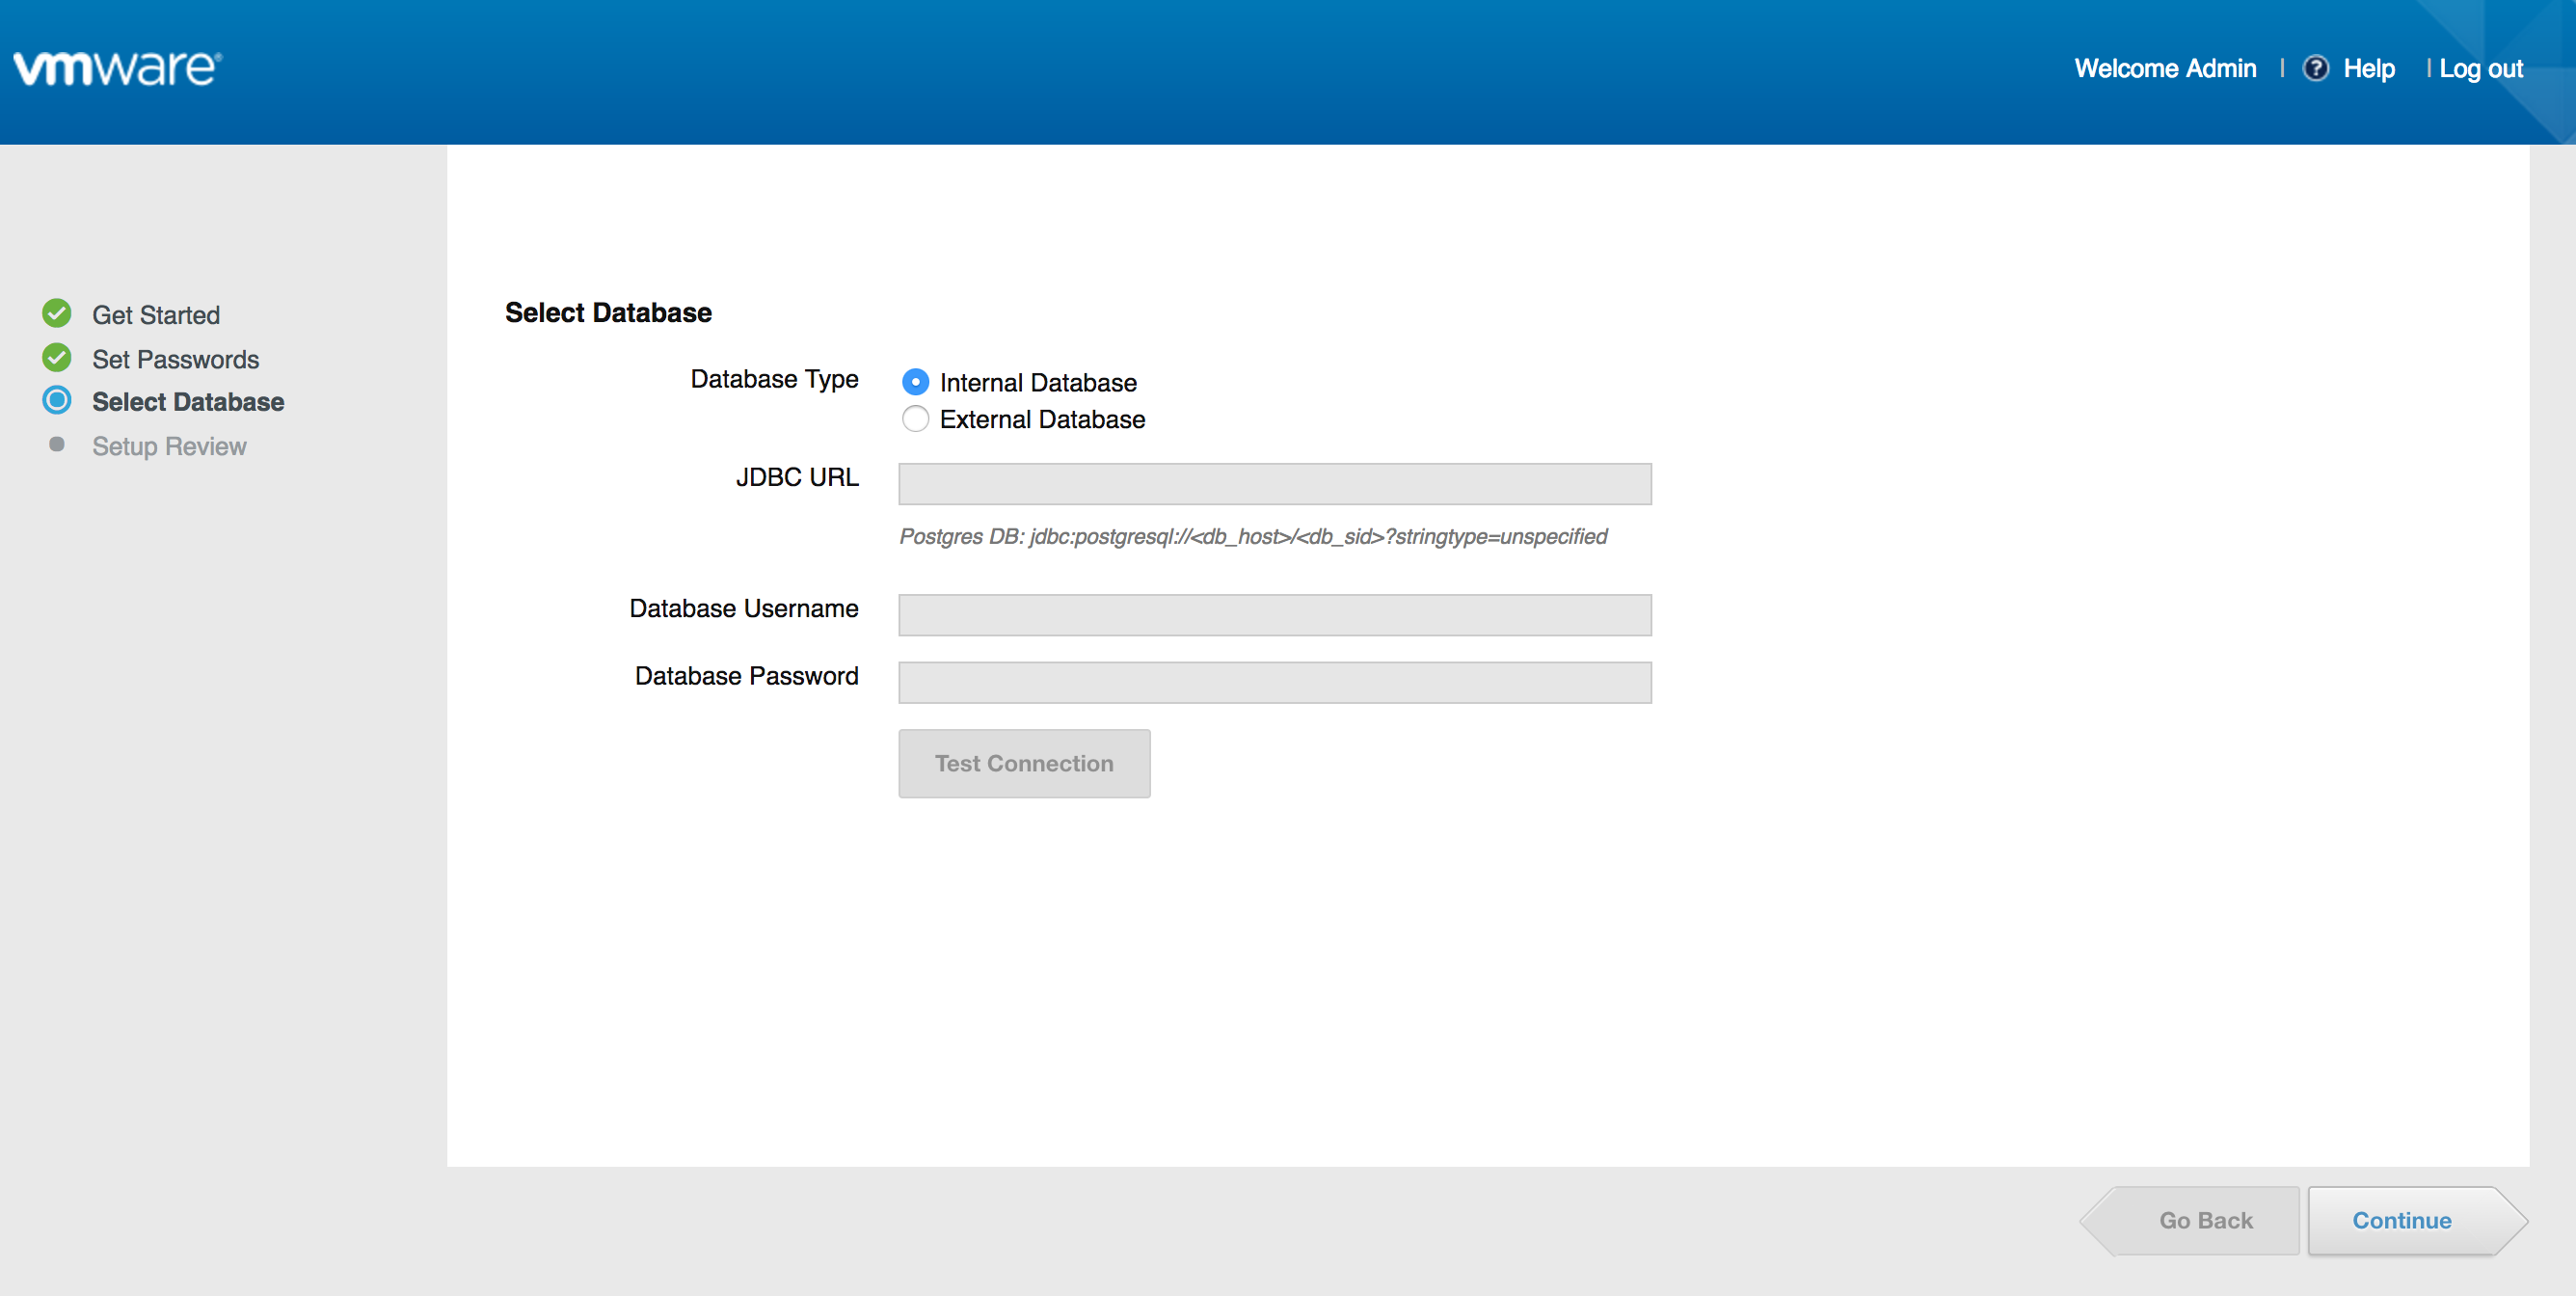
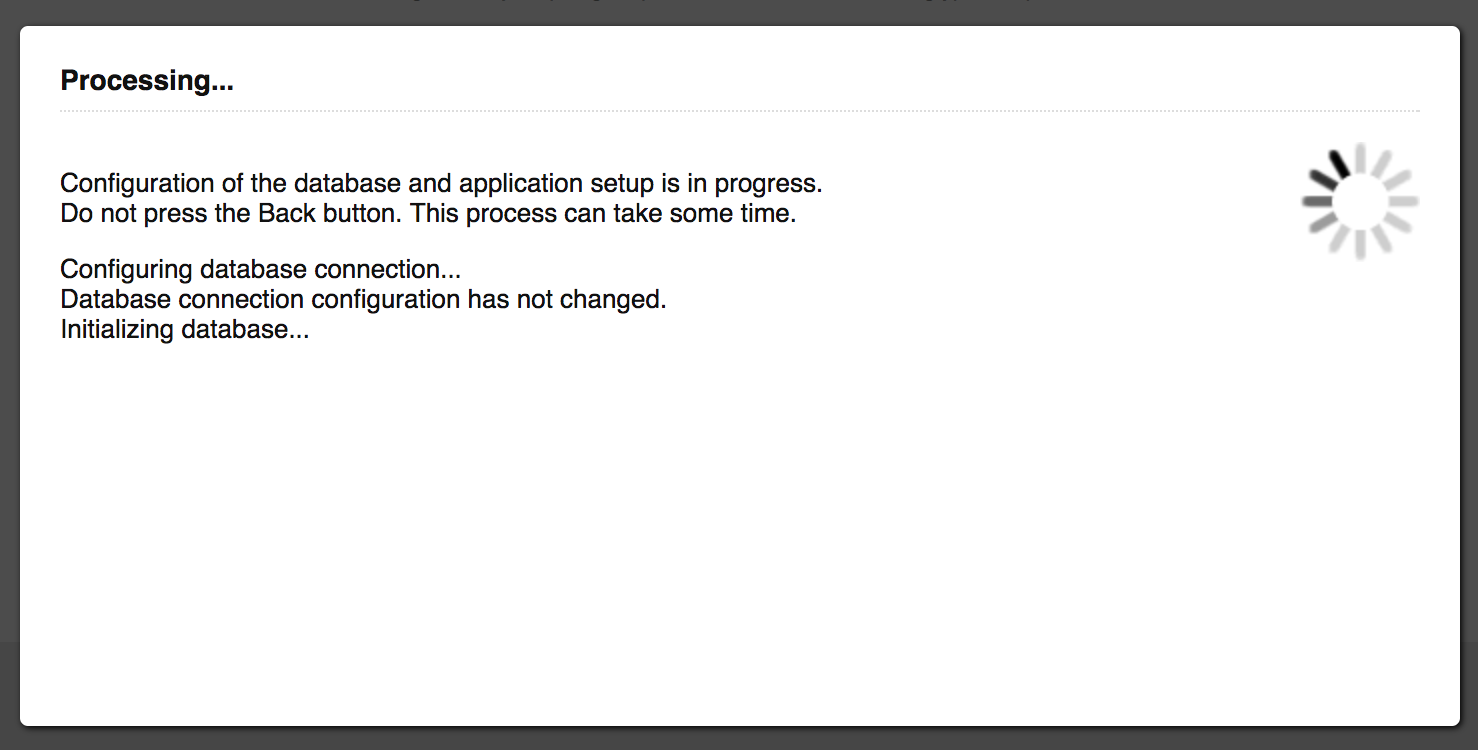
When selecting the internal database you need to go through an initialization process.
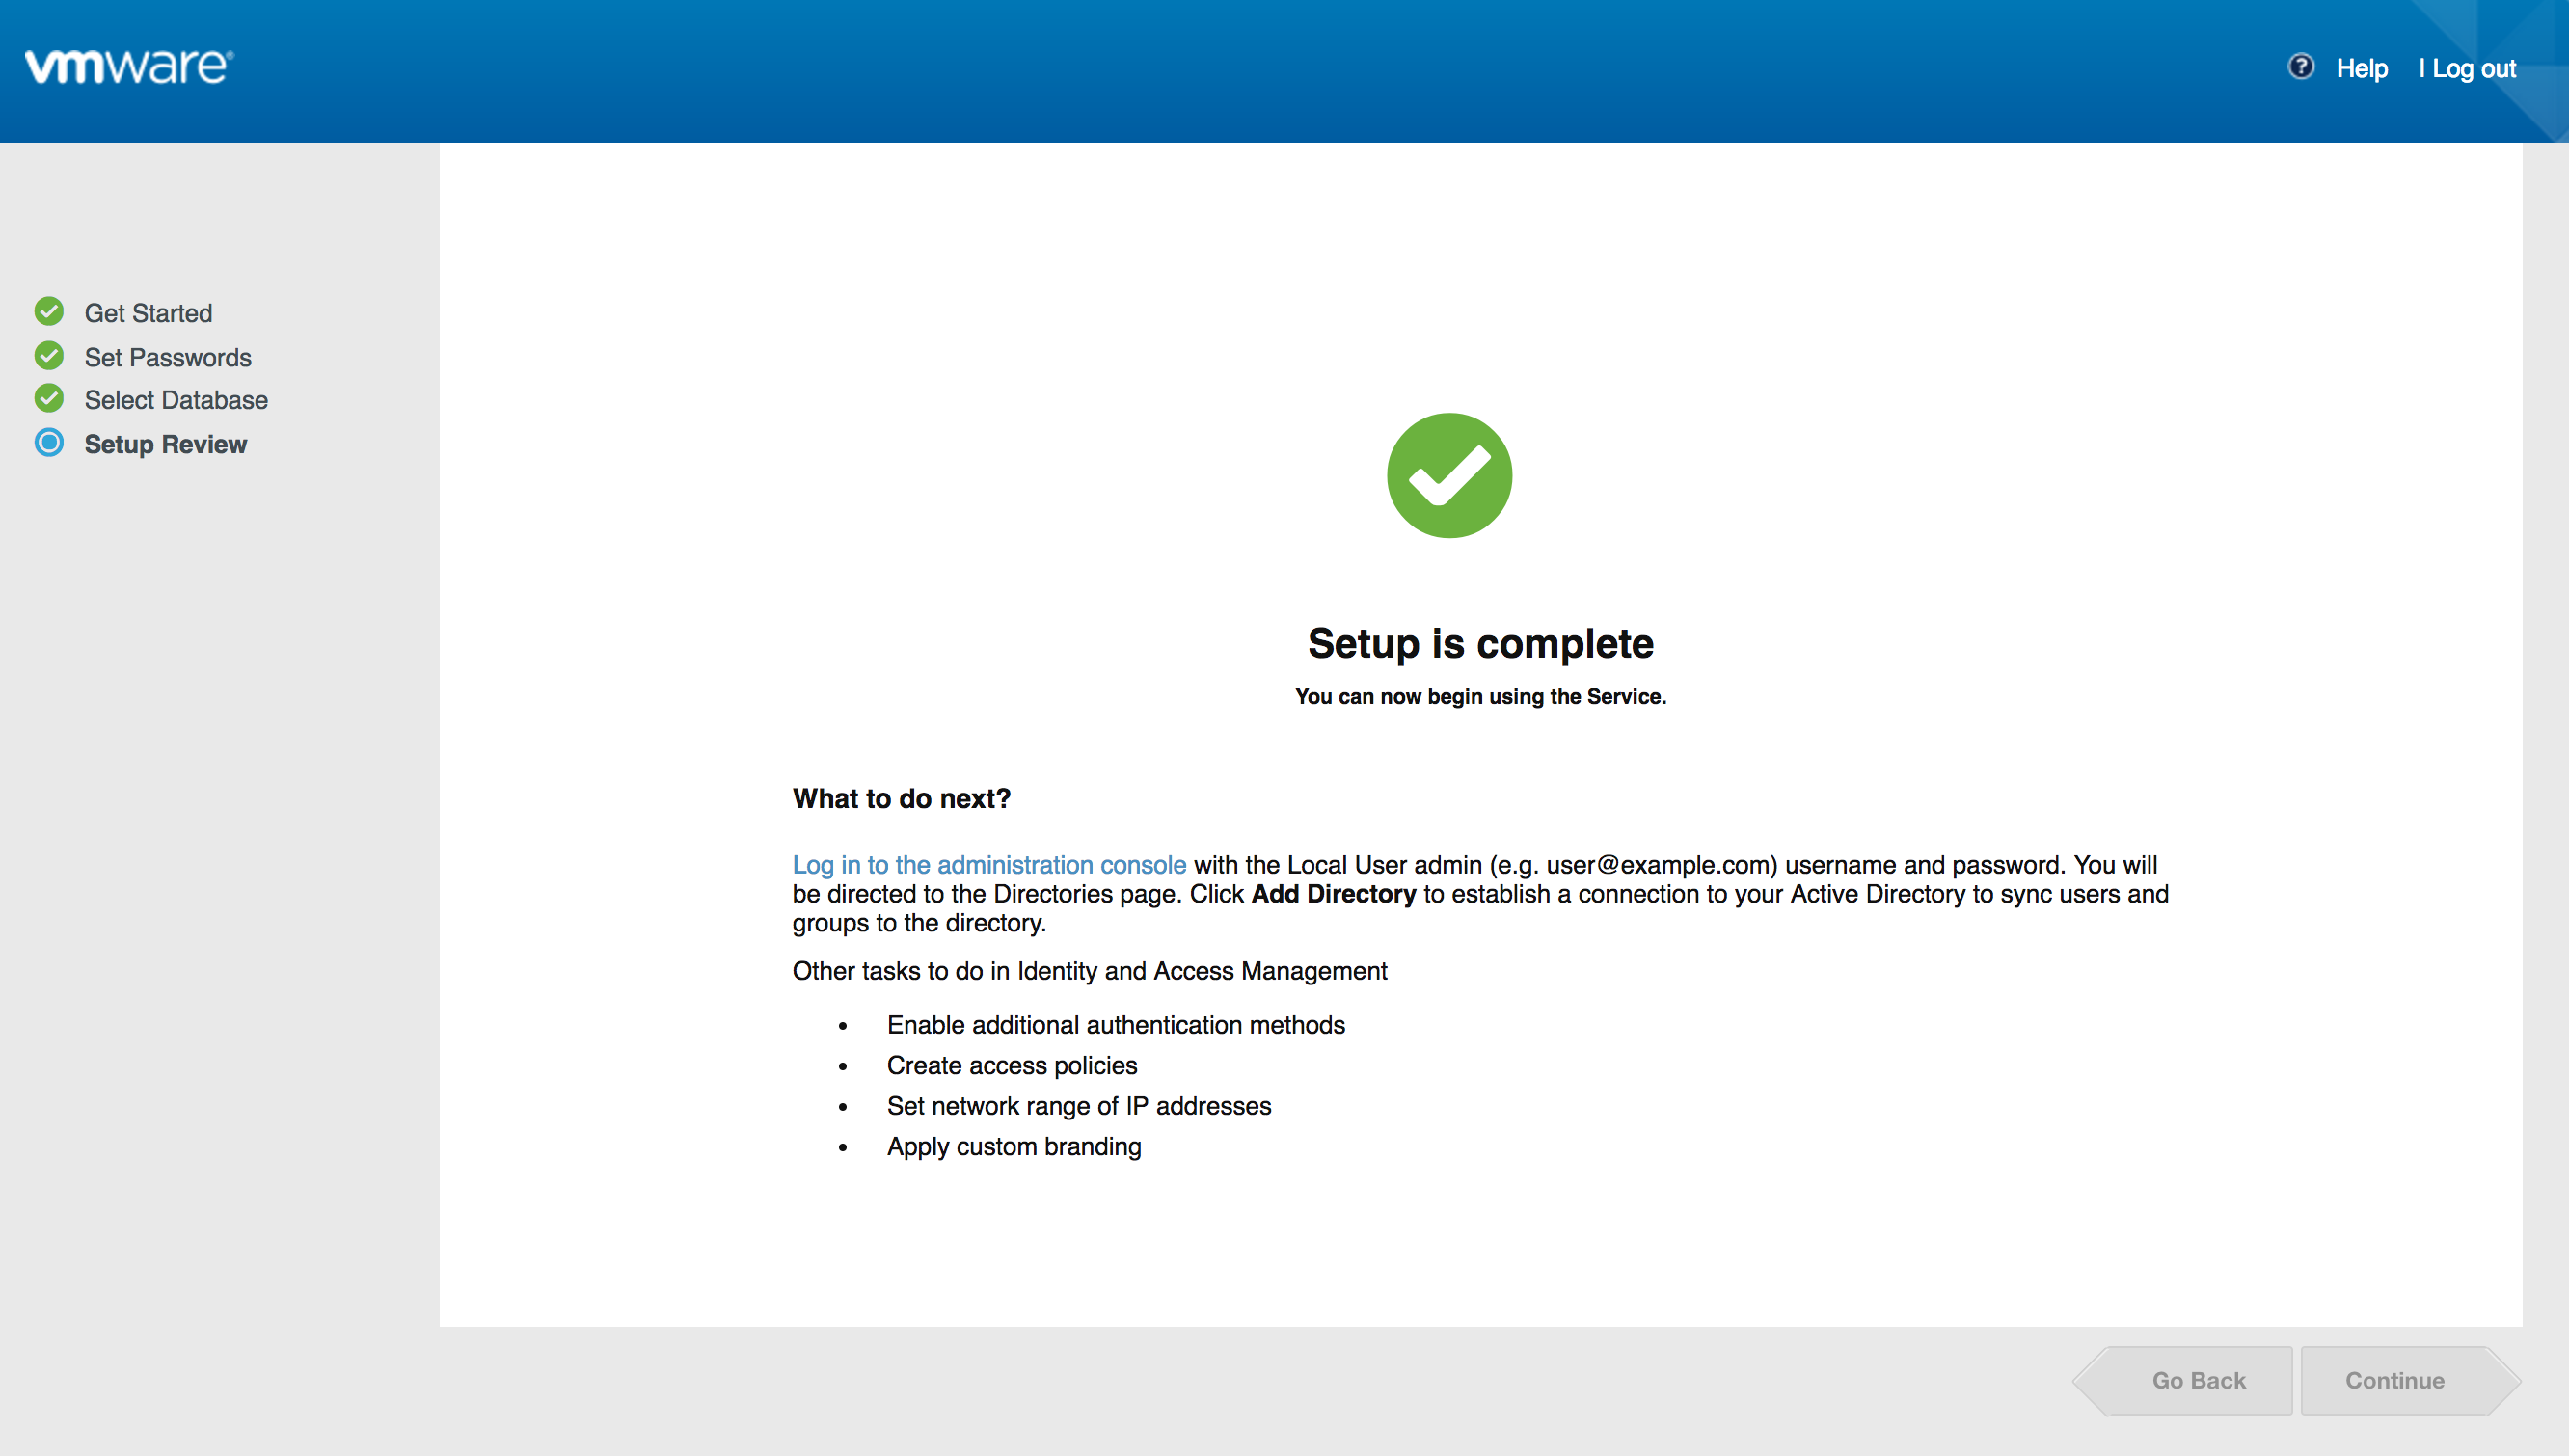
Then you are complete!
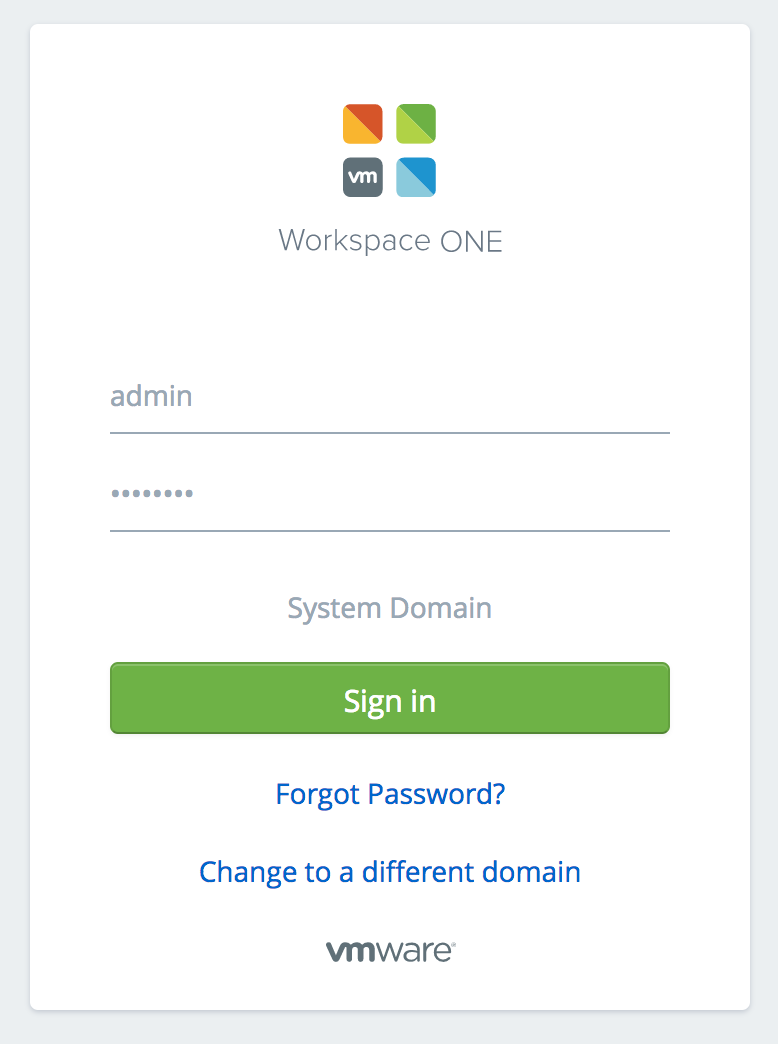
Now you can log in using the admin password you set during the initial configuration.
Additional VIDM configuration
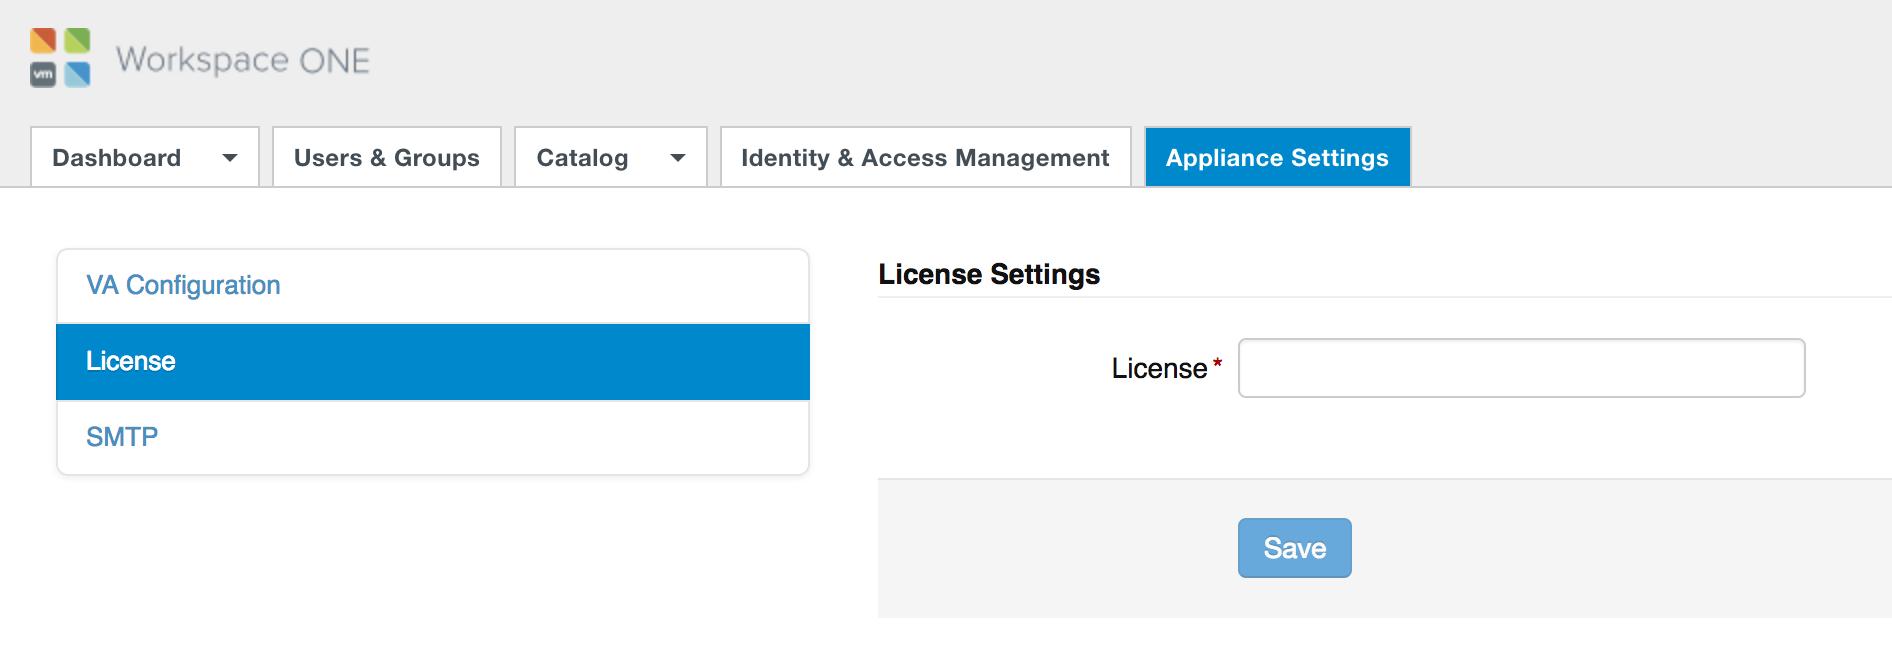
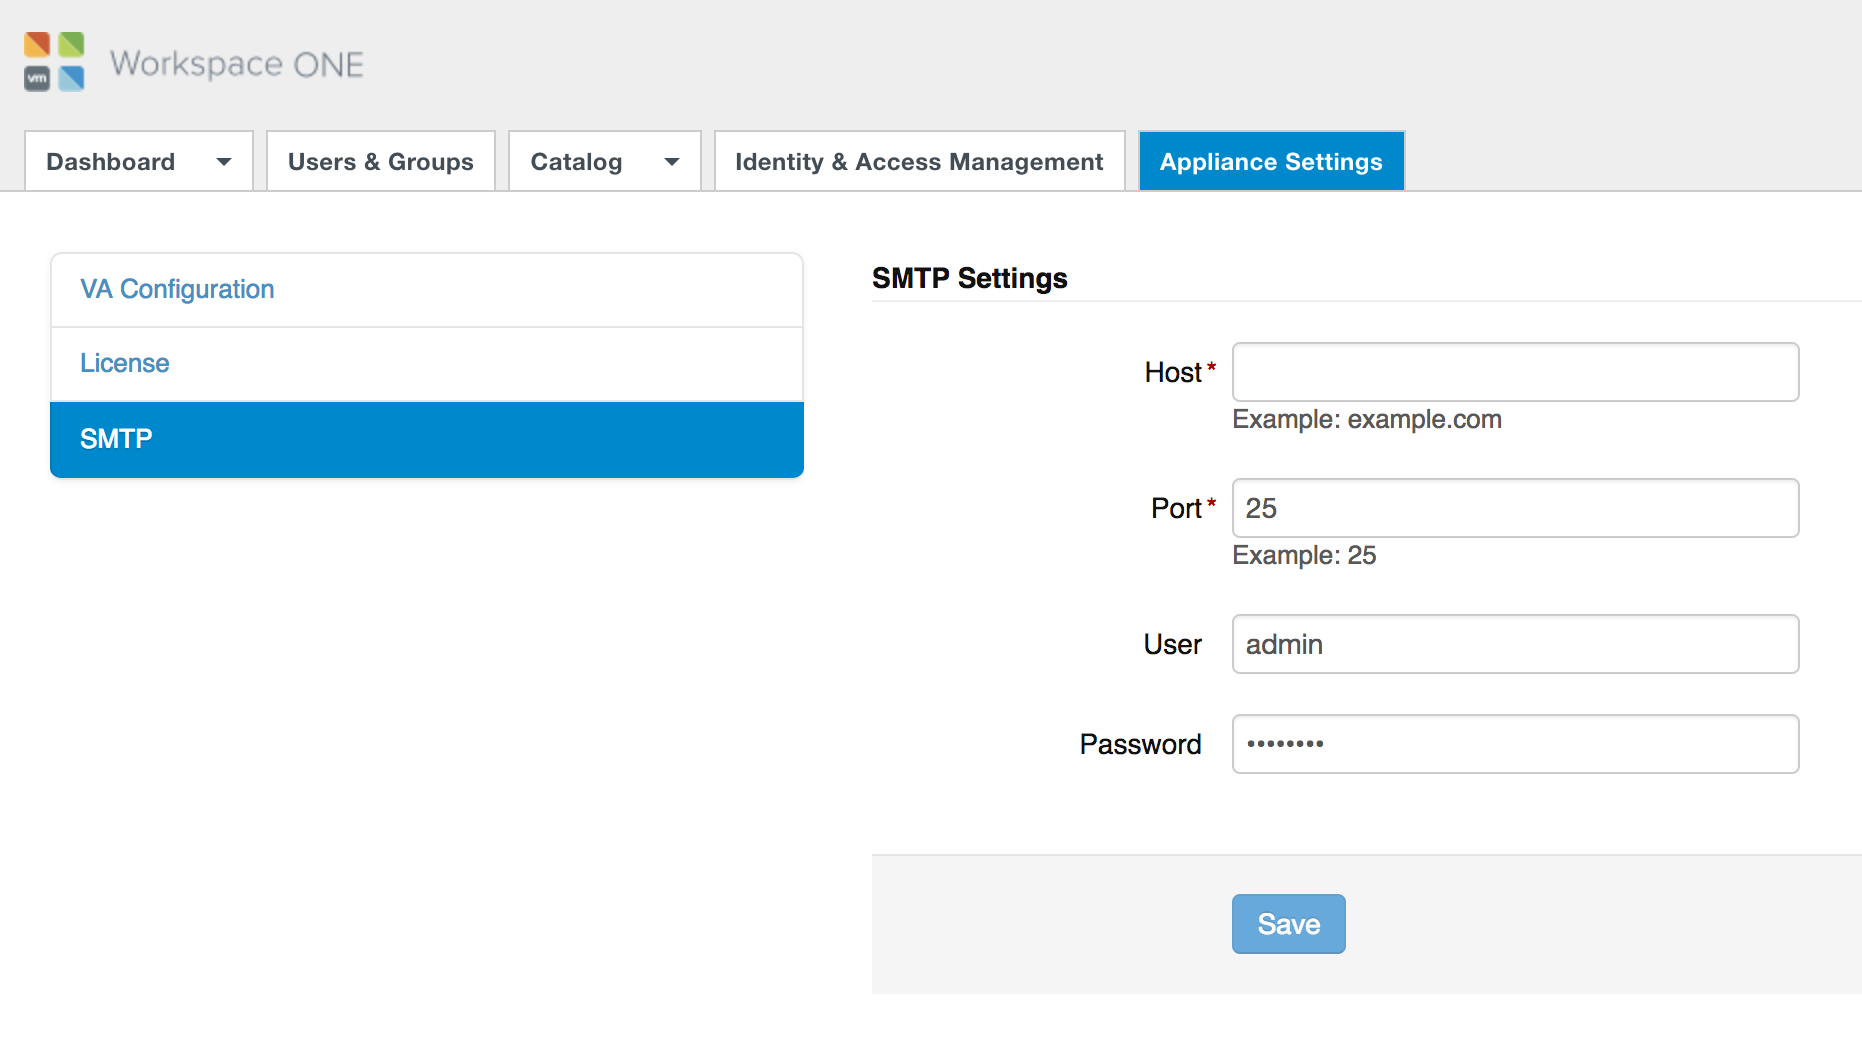
After you log in, there are several configurations you can adjust under the Appliance Settings section. You will notice a license section — entering a license is not required and in the case of Log Insight 4.5 and newer no license needs to be entered.
For SMTP, you can adjust the settings, but you should not only port 25 is allowed.
IMPORTANT: Use of SMTPS is not supported at this time.
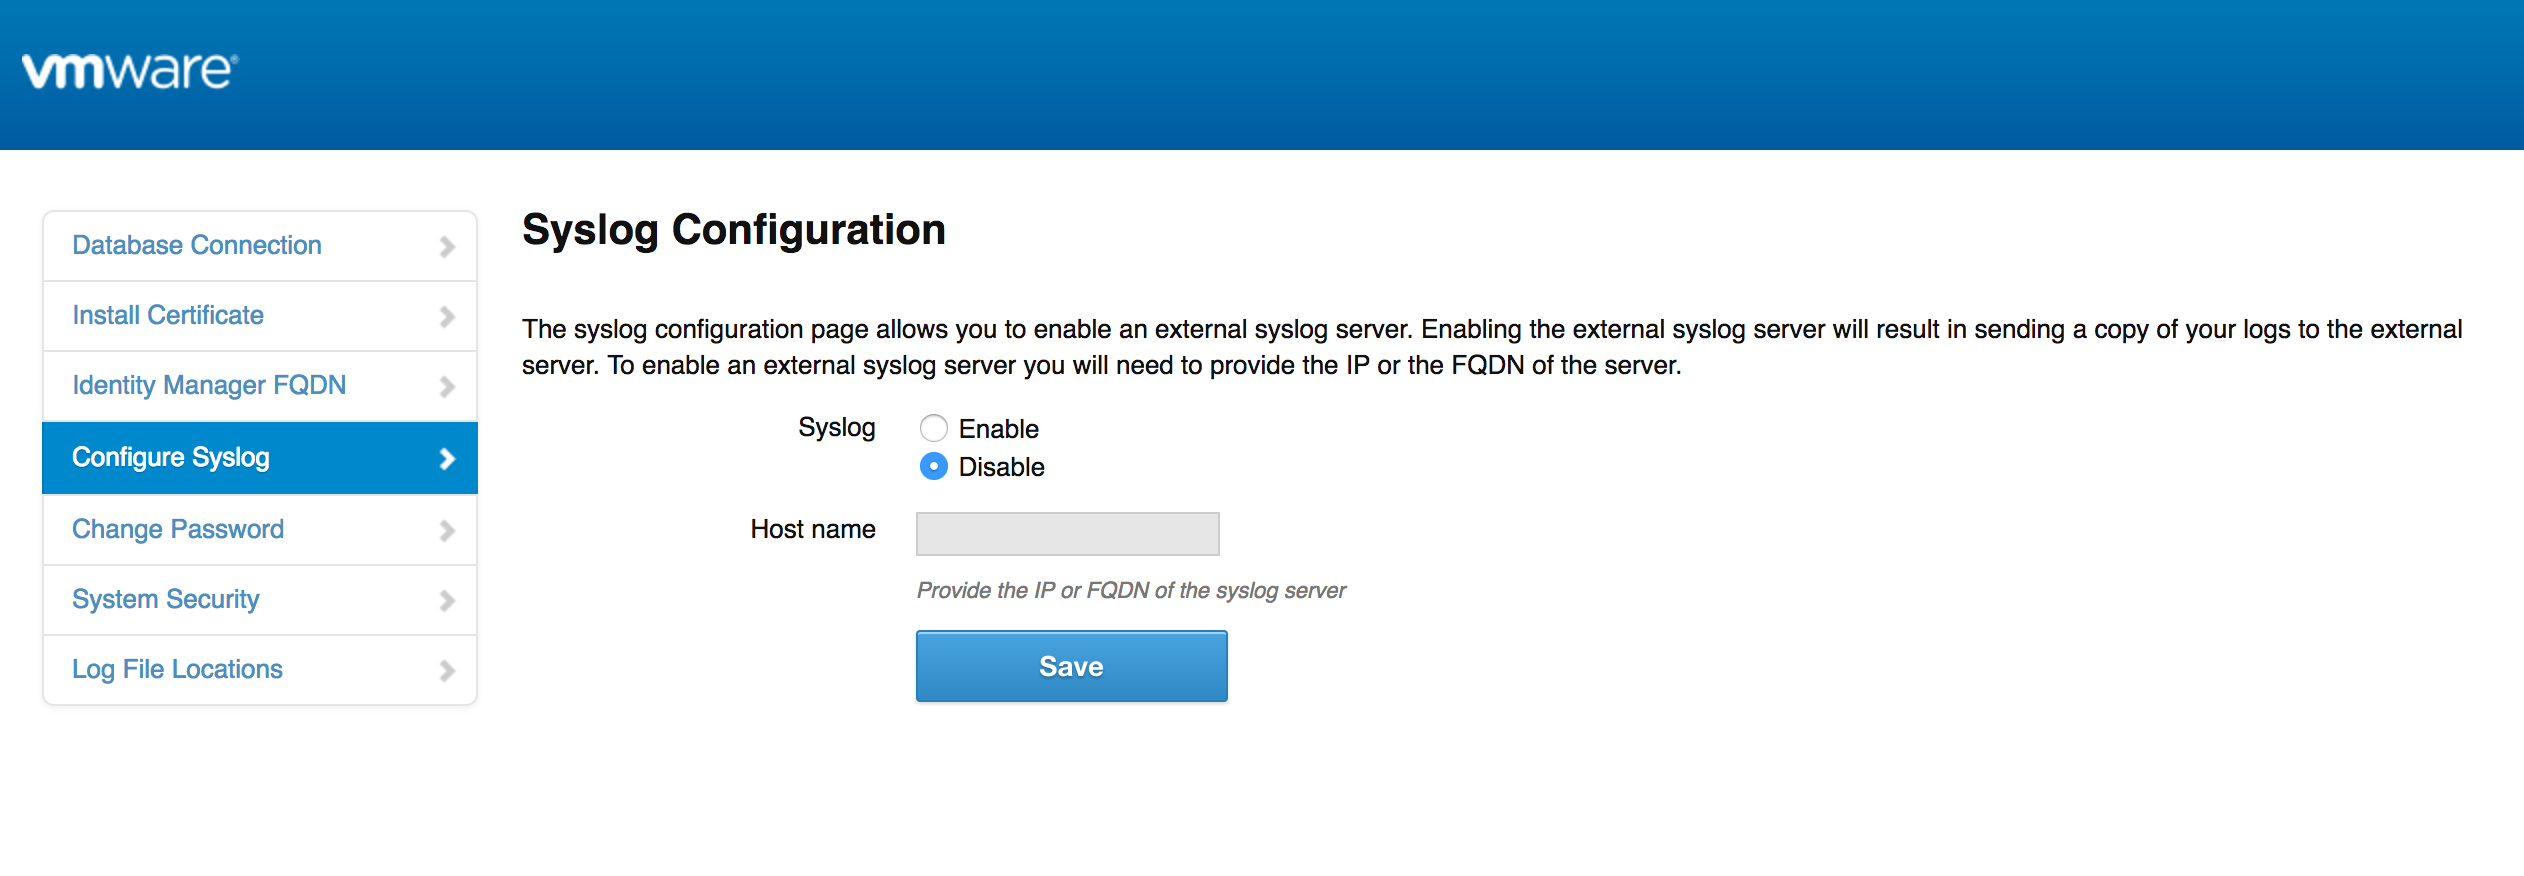
Under the VA configuration section there are even more options. This is where you can adjust the database connection, install a SSL certificate, change passwords, and of course configure syslog.
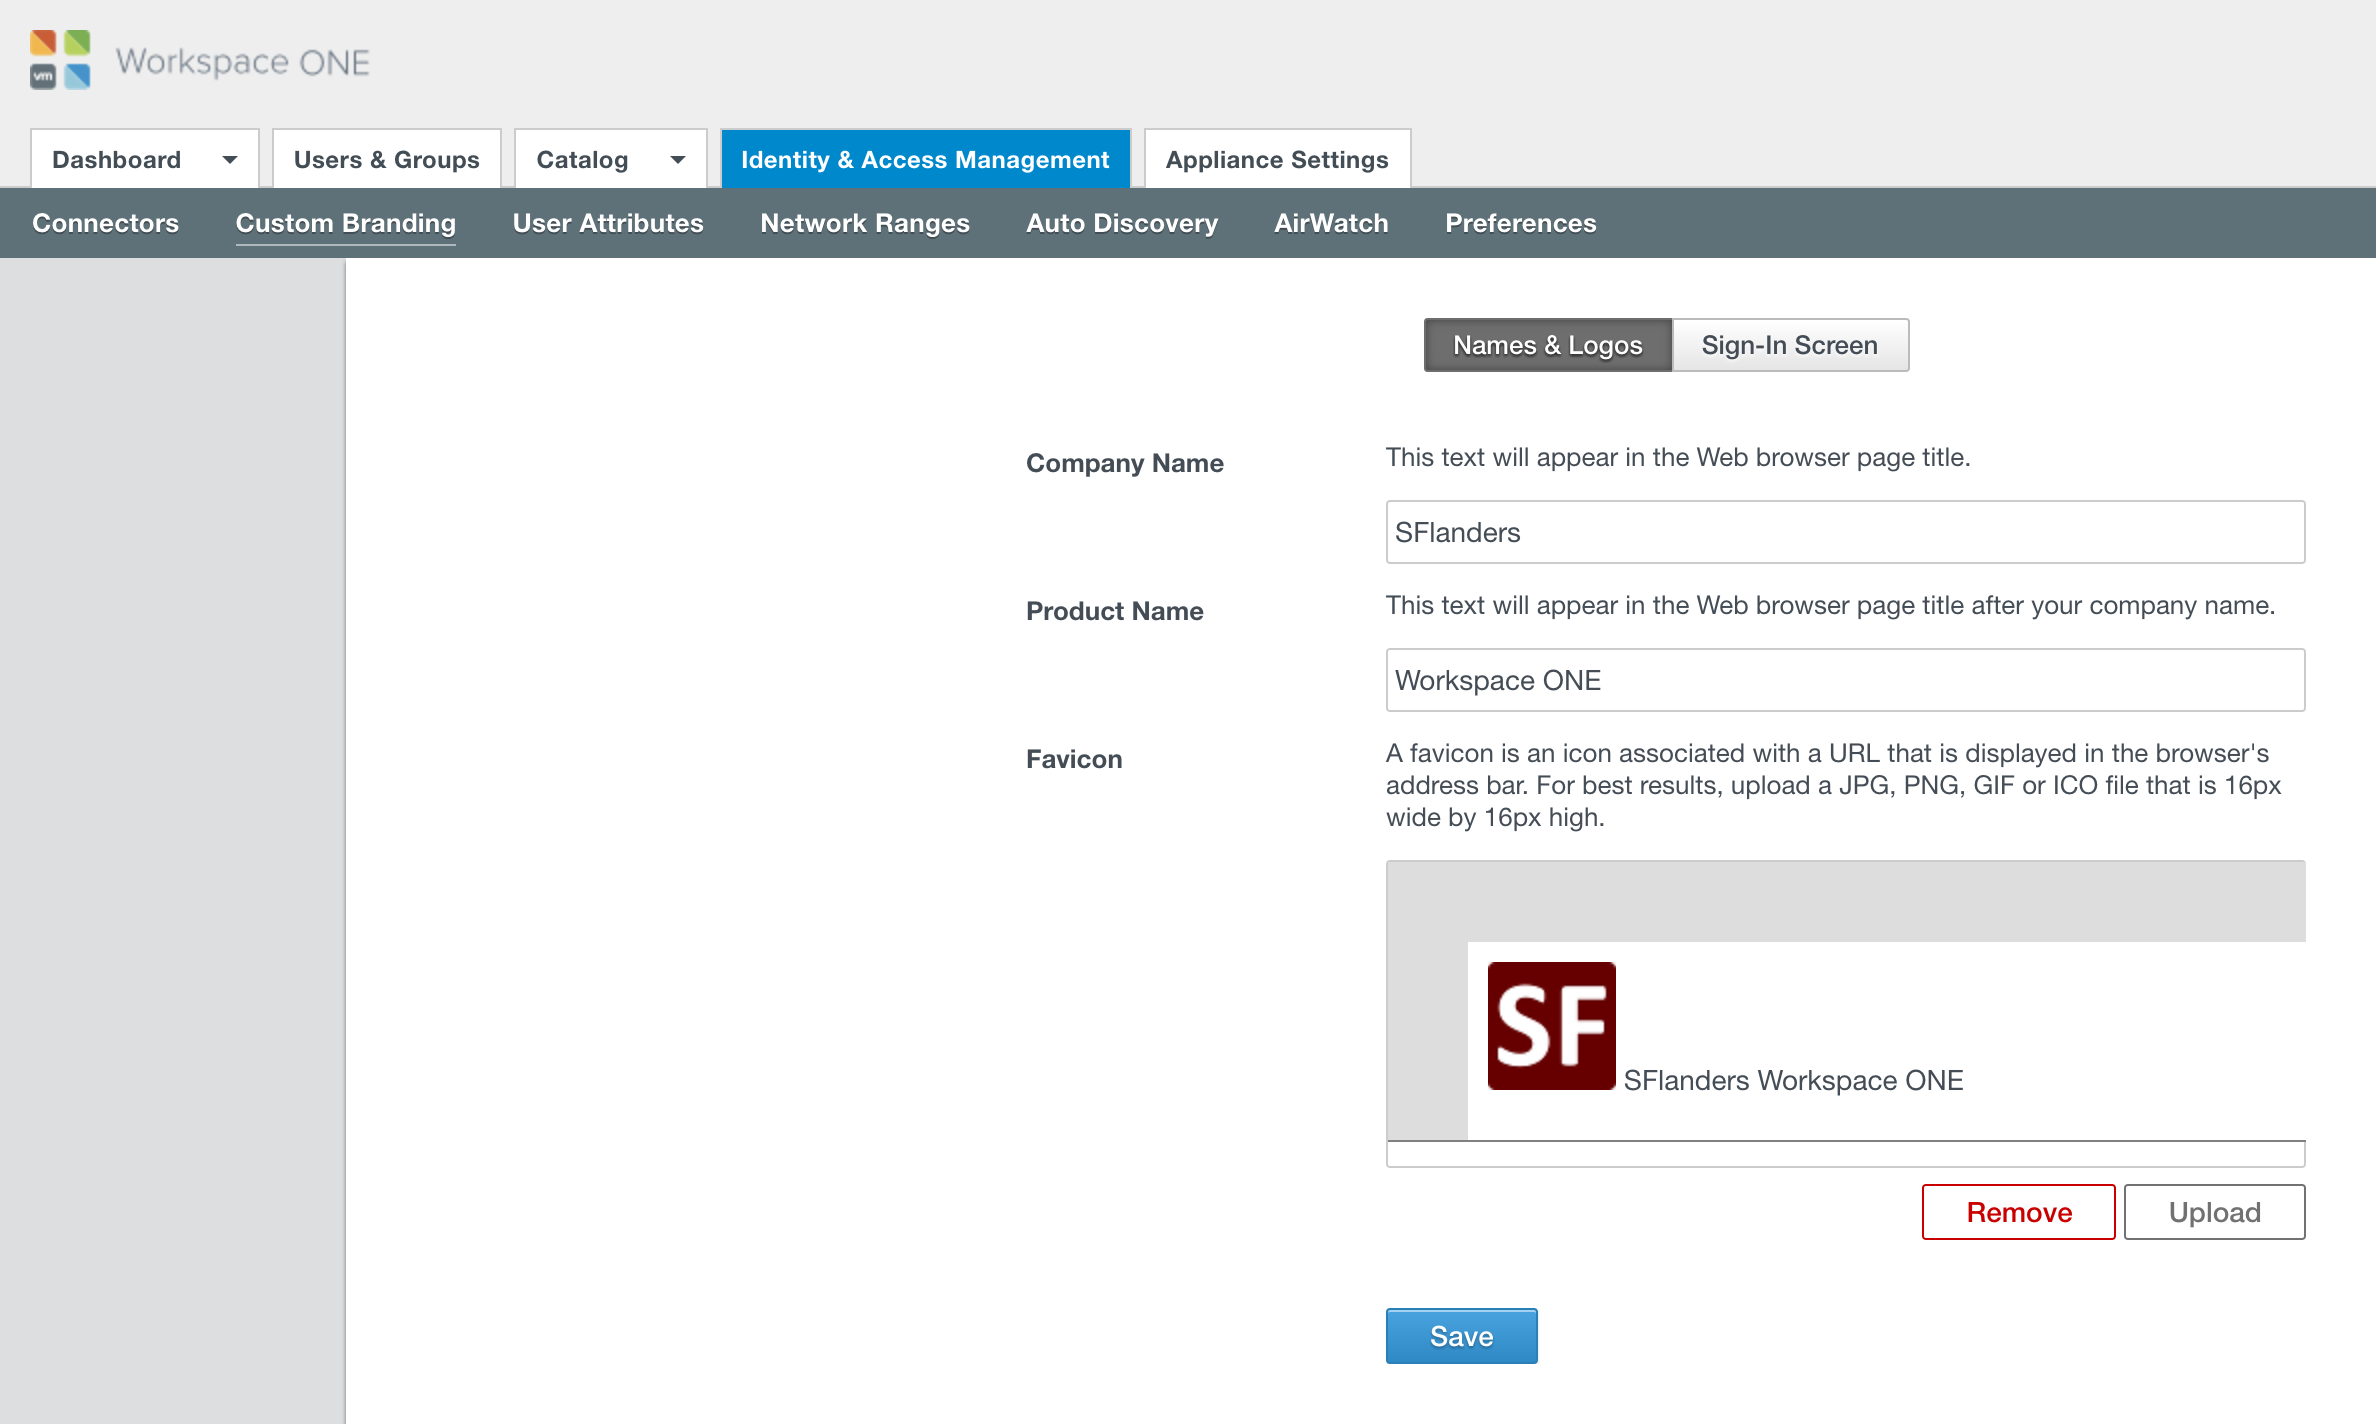
 One additional thing you can do is brand your VIDM instance. From the Identity & Access Management tab, select Custom Branding.
Note: The Product Name option is required and cannot be blank. It also defaults to Workspace ONE
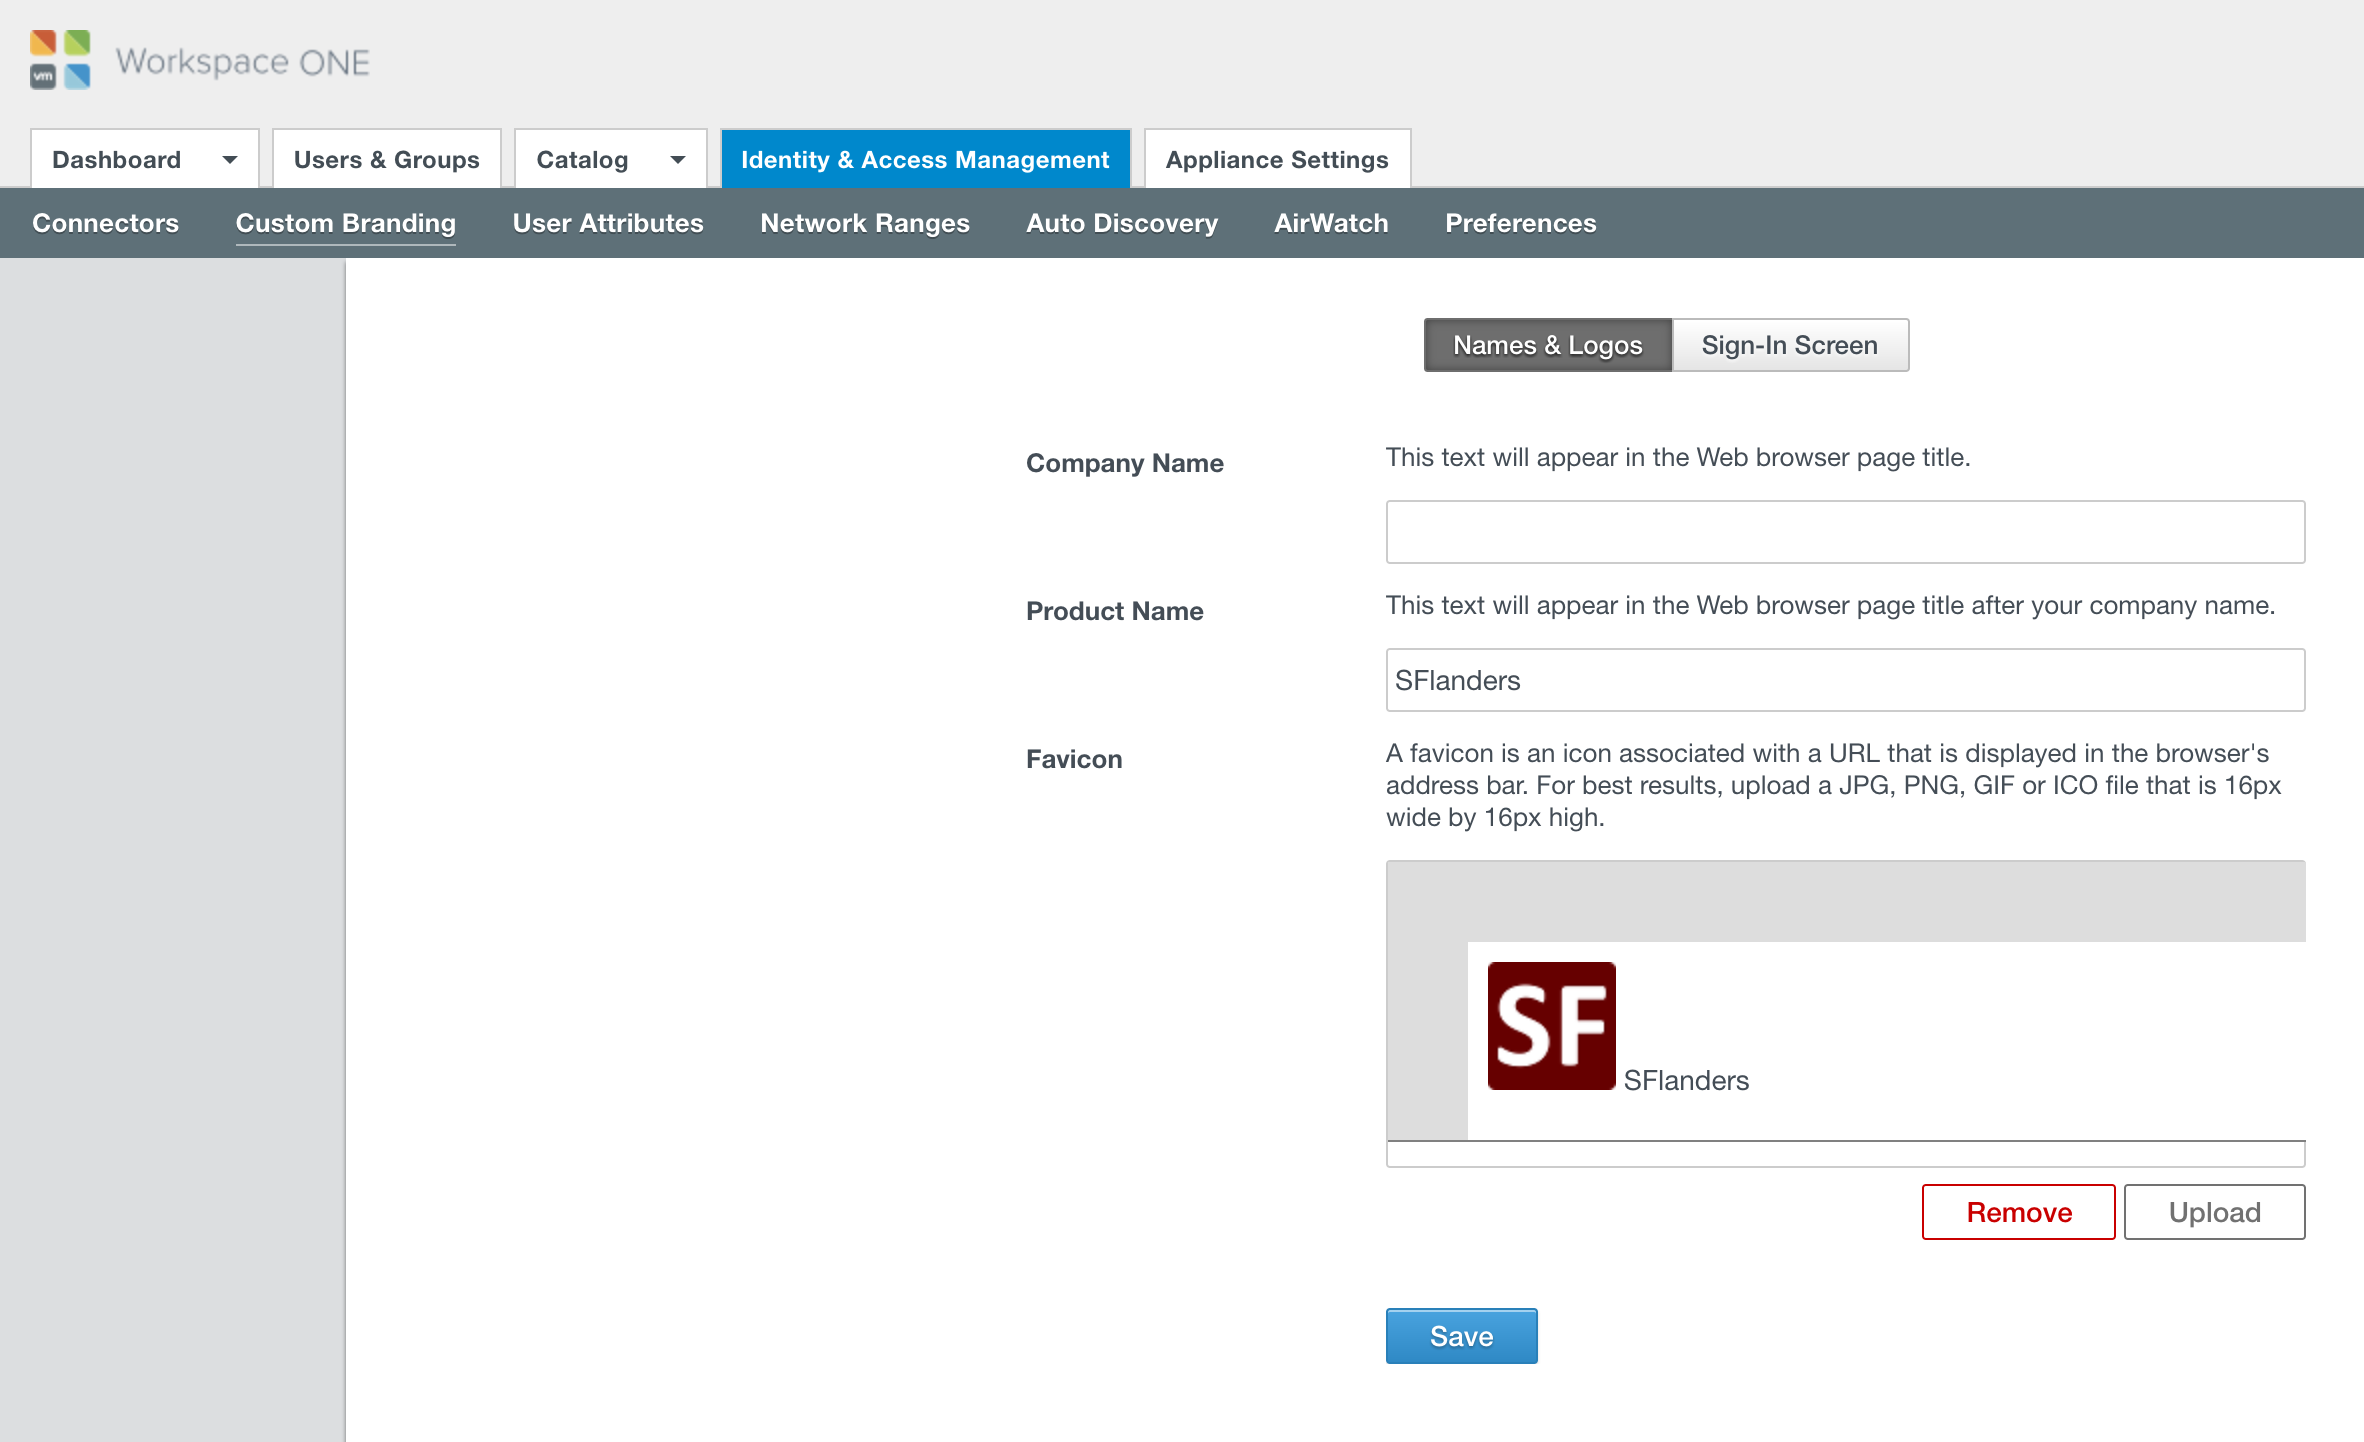
If you only wish to enter one name, enter it into the Product Name instead of the Company Name:
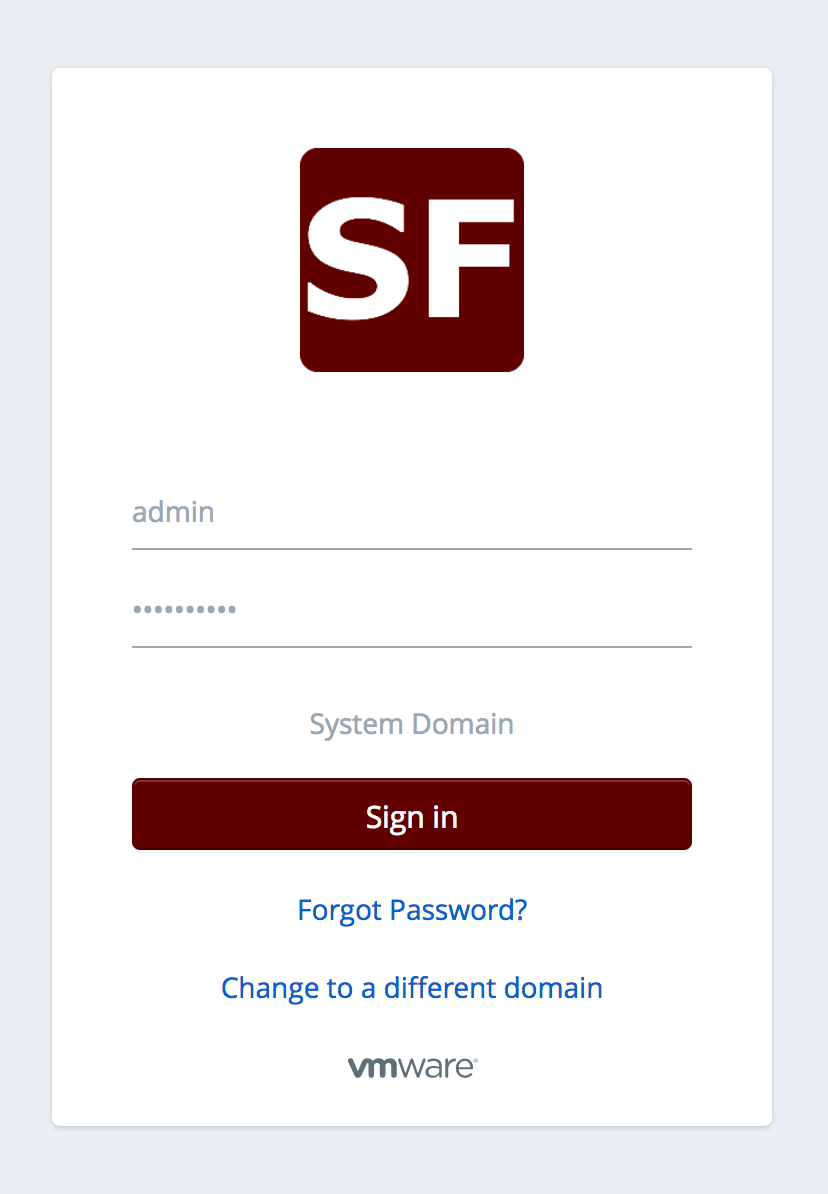
In addition, you can brand the sign-in screen:
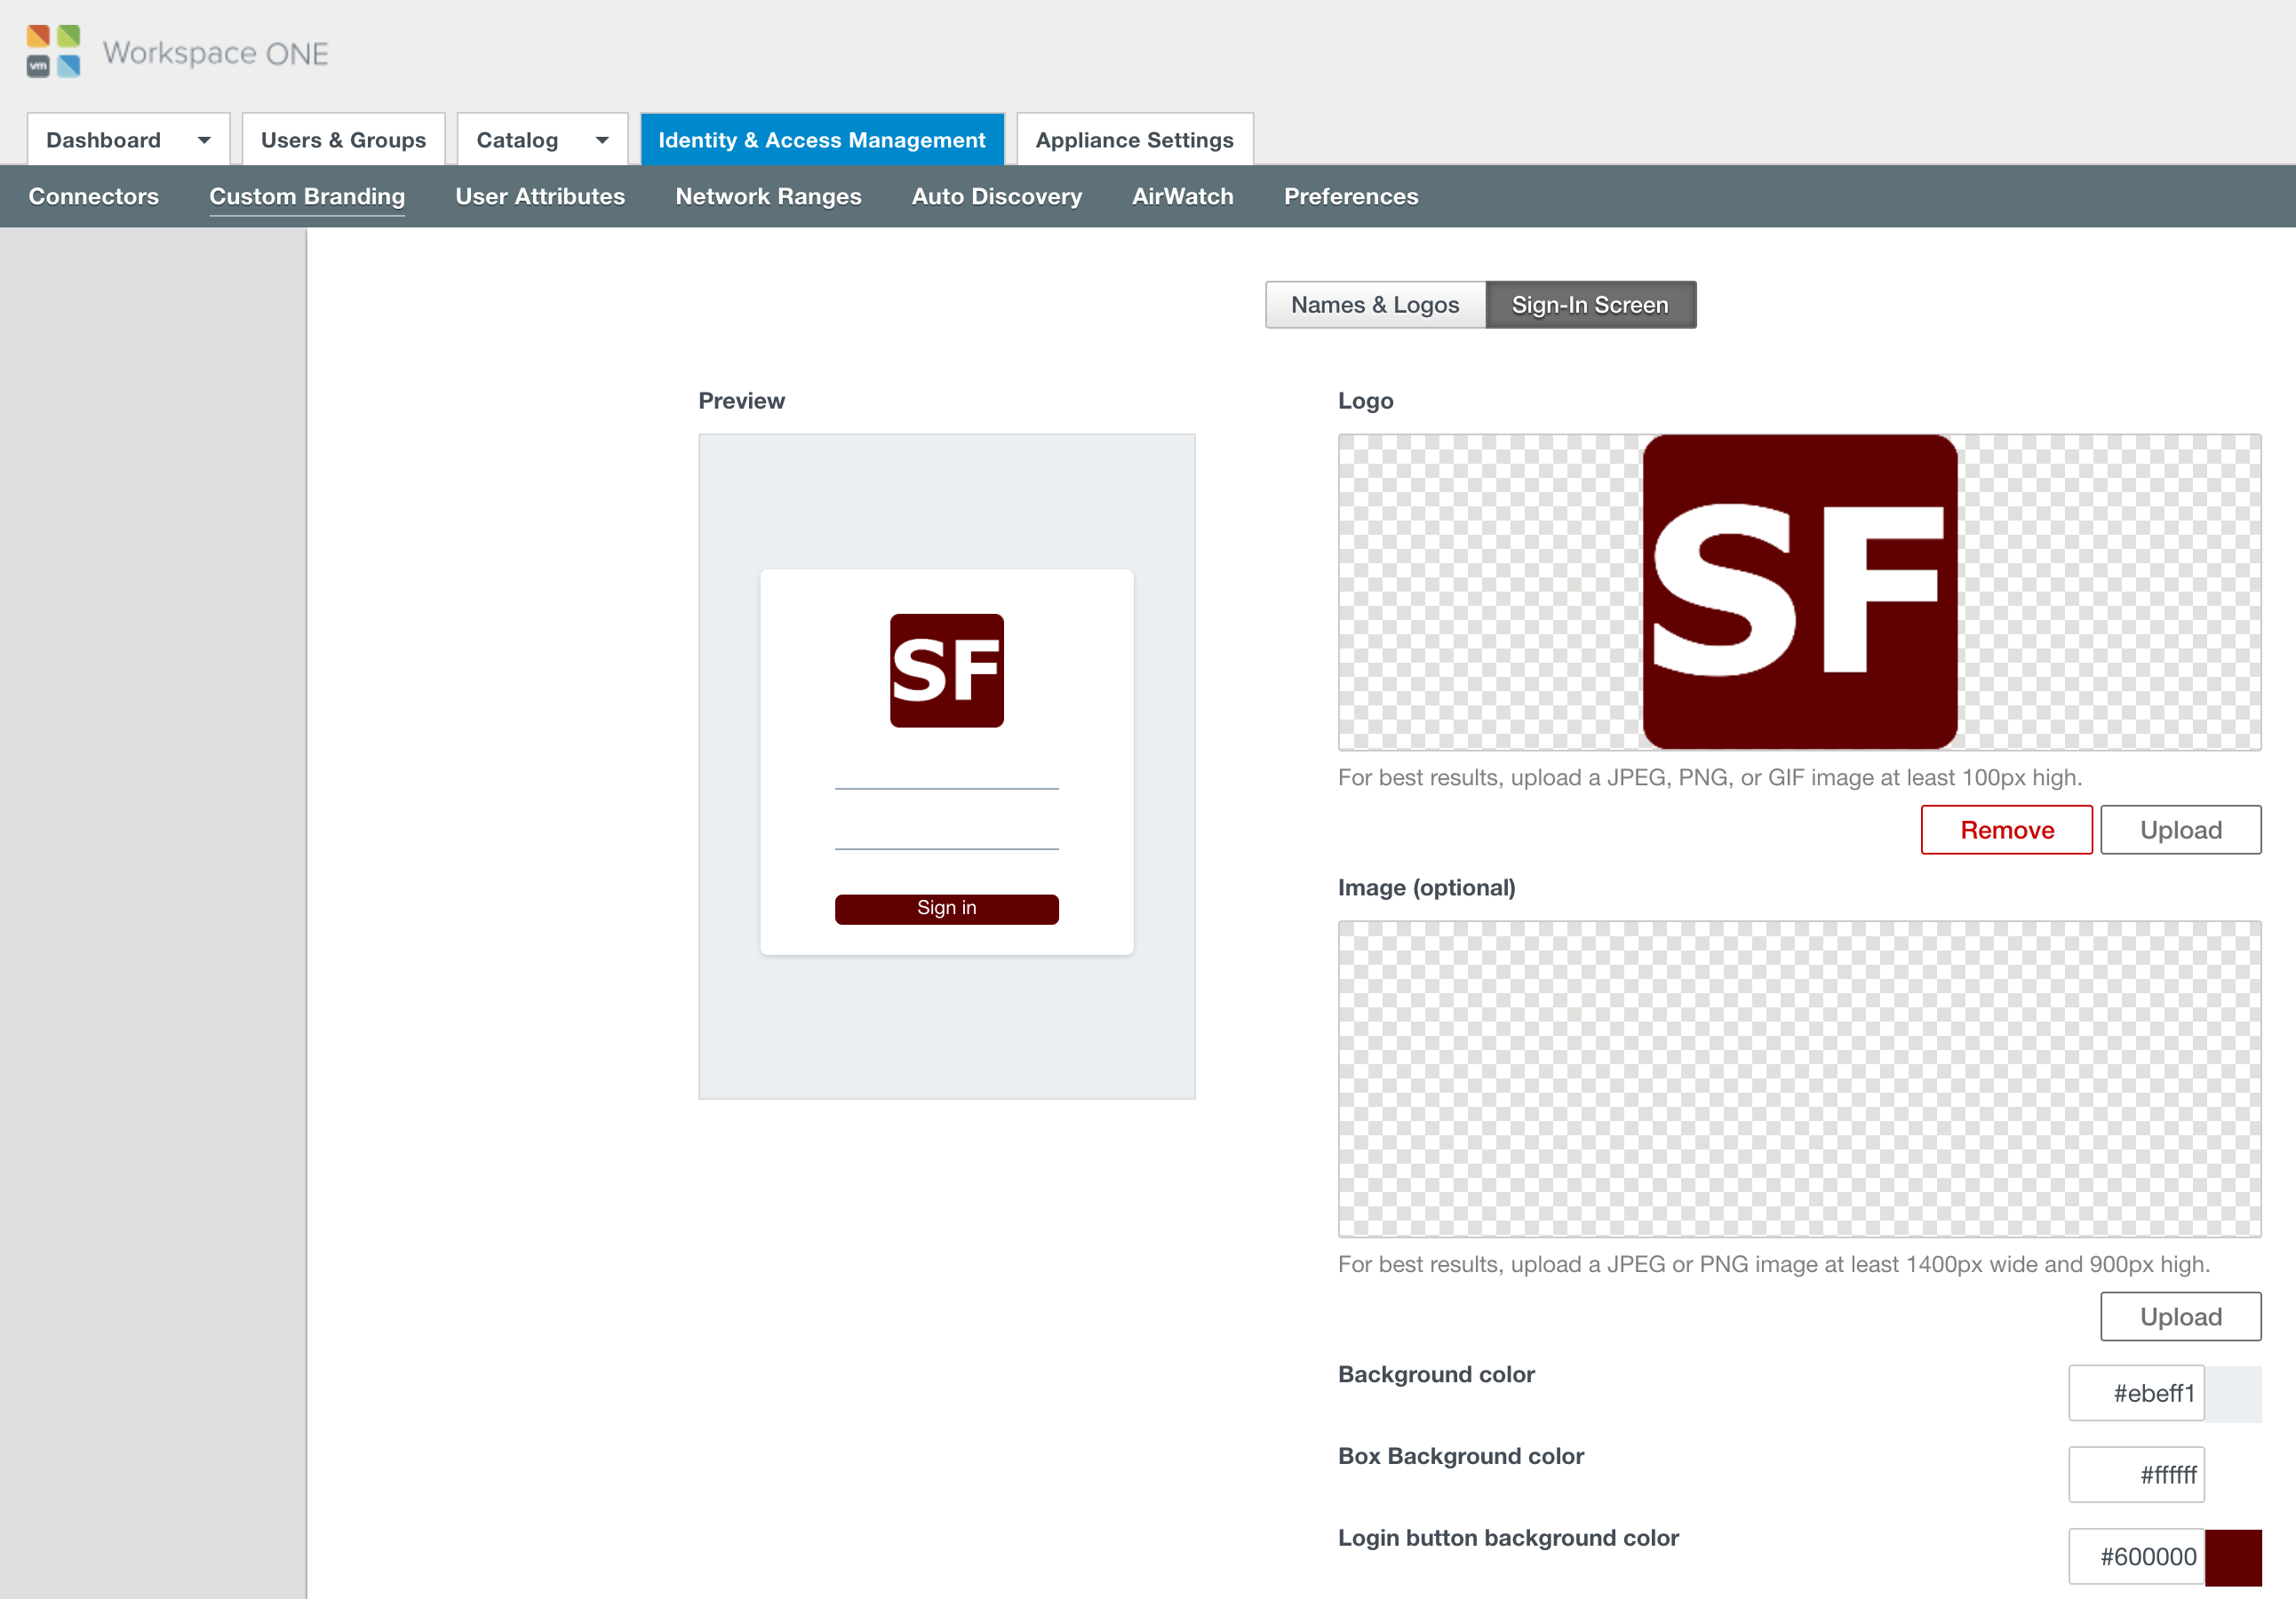
The result is something like the following:
© 2017, Steve Flanders. All rights reserved.

Need your help to reset vIDM connector Admin password reset process for 2.9.2.1 version